How to Use Vultr App Marketplace to Deploy OpenLiteSpeed WordPress
Deploying a high-performance WordPress site can be a complex task, but Vultr’s App Marketplace simplifies the process with its one-click solution for OpenLiteSpeed WordPress. This detailed guide will walk you through the entire deployment process, from initial setup to post-deployment configuration, ensuring you can launch your site quickly and efficiently. OpenLiteSpeed is an open-source web server known for its speed, scalability, and ease of use, making it an excellent choice for hosting WordPress. When combined with Vultr’s infrastructure, it provides a powerful platform for running your website.
Before you begin, it’s helpful to have a basic understanding of server management and WordPress configuration. While the App Marketplace simplifies the deployment process, you’ll still need to manage and maintain your server and WordPress site. Additionally, be aware that deploying a server on Vultr will incur costs based on the server size and resources used. Make sure to review Vultr’s pricing to understand the costs involved.
Step-by-Step Deployment Guide
Step 1: Sign Up or Log In to Vultr
- If you have an account, simply log in using your credentials.
Step 2: Navigate to the App Marketplace
- Once logged in, locate the Marketplace tab in the top navigation bar on the Vultr dashboard.
- Click on it to access the App Marketplace, where you can browse and deploy various pre-configured applications.
Step 3: Select OpenLiteSpeed WordPress
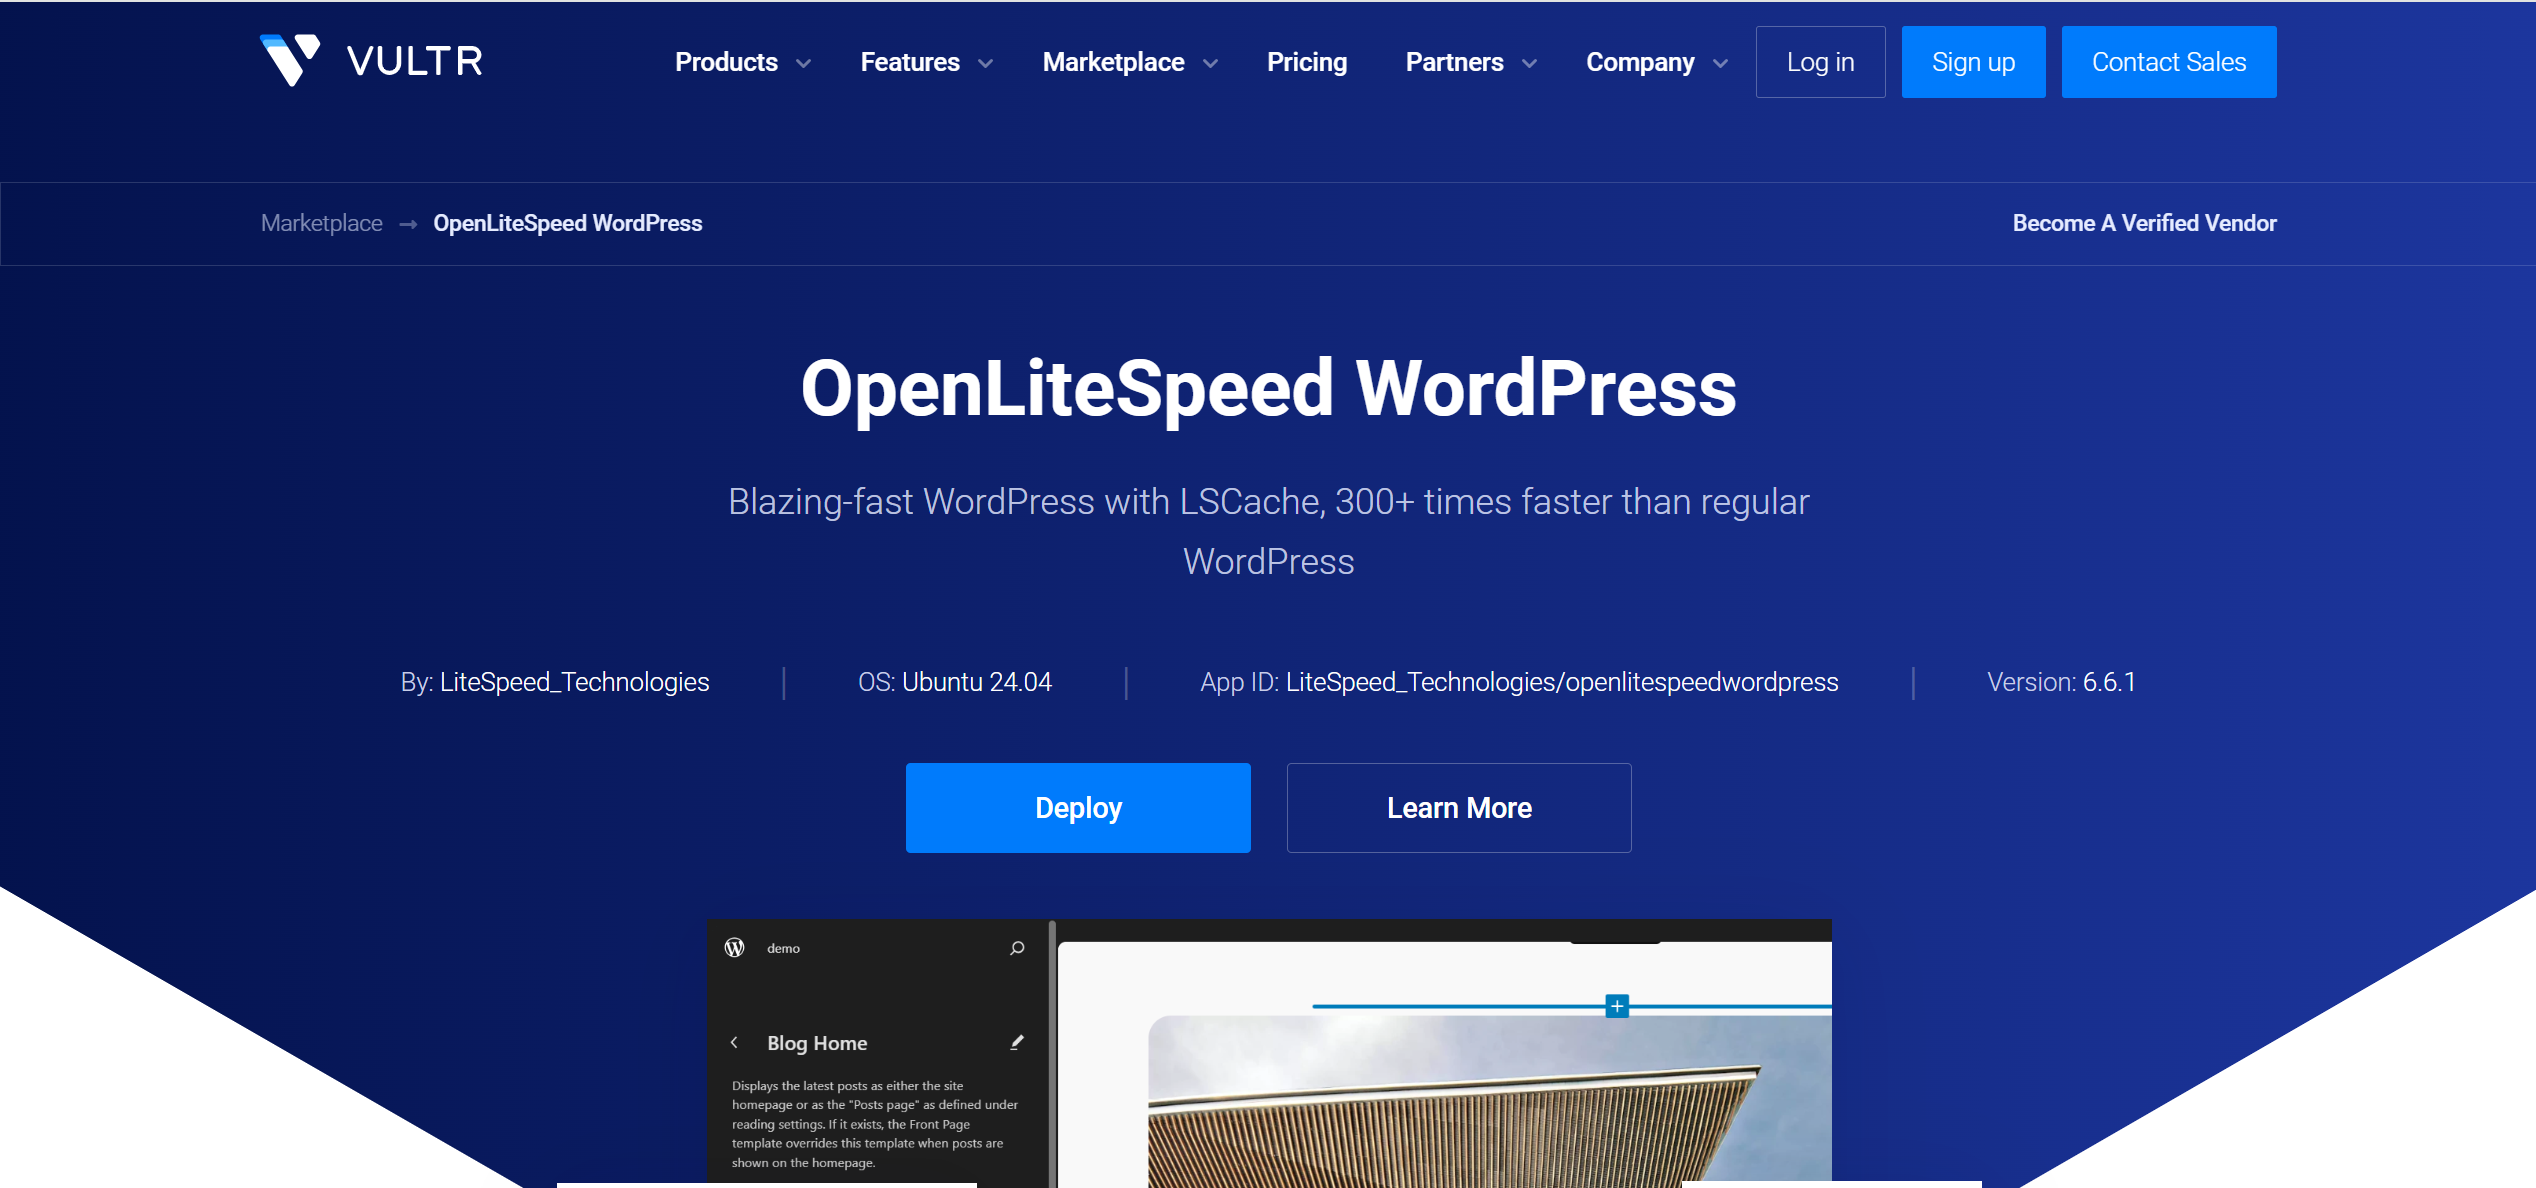
- In the App Marketplace, use the search bar to type OpenLiteSpeed WordPress or browse through the list of available applications.
- Click on the OpenLiteSpeed WordPress application to view its details and deployment options.
Step 4: Choose Server Configuration
- On the application details page, configure your server settings:
- Server Size: Select a server size based on your expected traffic and resource needs. For a typical WordPress site, a server with at least 1 CPU and 2 GB of RAM is recommended. Larger sites with higher traffic may require more resources (e.g., 2 CPUs and 4 GB RAM).
- Server Location: Choose a location closest to your target audience to minimize latency and improve performance.
- Additional Options: You may have the option to set up a domain name and SSL certificate during deployment. If you plan to use a custom domain, it’s recommended to configure it at this stage for convenience and security.
- Review your selections carefully to ensure they meet your site’s requirements.
Step 5: Deploy the Application
- After configuring your server, click the Deploy Now button.
- This initiates the deployment process, which typically takes a few minutes depending on the server size and location.
Step 6: Wait for Deployment
- Vultr will automatically set up your server with OpenLiteSpeed and WordPress pre-installed.
- Monitor the deployment progress on the Vultr dashboard. You’ll receive a notification once it’s complete.
Step 7: Access the Server
- After deployment, access your server using one of these methods:
- SSH: Use the credentials (IP address, username, and password or SSH key) provided in the Vultr dashboard with an SSH client like PuTTY (Windows) or Terminal (macOS/Linux).
- Vultr Console: Use the web-based console available in the Vultr dashboard for initial setup without an SSH client.
- Note the server’s IP address, as you’ll need it for the next steps.
Step 8: Complete Initial Setup
- Depending on your deployment choices, you may need to perform some additional setup:
- Domain Setup: If you didn’t configure a domain during deployment, point your domain to the server’s IP address by updating your DNS records (e.g., set an A record with your domain registrar).
- SSL Configuration: For secure connections (HTTPS), install an SSL certificate. Vultr’s OpenLiteSpeed WordPress app supports Let’s Encrypt for free SSL certificates. After connecting via SSH, follow the prompts to input your domain and email address, then verify ownership to enable HTTPS.
- Ensure your domain resolves correctly and SSL is active before proceeding (this may take some time due to DNS propagation).
Step 9: Configure WordPress
- Access the WordPress dashboard:
- Open a web browser and navigate to your server’s IP address (e.g., http://your-server-ip) or domain name (e.g., https://your-domain.com).
- Log in using the default credentials provided in the deployment details on the Vultr dashboard. Change these credentials immediately for security.
- Once logged in, configure your WordPress site:
- Set up your site title, tagline, and timezone.
- Install a theme to customize the appearance.
- Add plugins to extend functionality (e.g., SEO, contact forms).
- Create pages and posts to build your content.
Step 10: Optimize and Secure
- Enhance your site’s performance and security:
- Performance Optimization: Use OpenLiteSpeed’s built-in features like HTTP/3 support and caching. The LiteSpeed Cache plugin is pre-installed and can be configured to improve page load times significantly.
- Security Best Practices:
- Use strong, unique passwords for WordPress admin and database access.
- Keep WordPress, themes, and plugins updated.
- Install security plugins like DoLogin Security (pre-installed) to limit login attempts and enhance protection.
- Hide your WordPress version and block user enumeration attempts via plugin settings or manual configuration.
Additional Tips
- Domain and SSL: Setting up a domain and SSL is highly recommended for professionalism and security. If you skipped this during deployment, use tools like Certbot to add SSL later.
- Server Management: Familiarize yourself with basic server tasks:
- Update software packages using SSH commands (e.g., sudo apt update && sudo apt upgrade on Ubuntu-based servers).
- Monitor resource usage via the Vultr dashboard to ensure your server meets demand.
- Backup and Recovery: Protect your data by scheduling regular backups. Use Vultr’s snapshot feature to create a full server backup, which can be restored if needed.
- Firewall Configuration: The OpenLiteSpeed WordPress app includes a default firewall allowing only SSH (port 22), HTTP (port 80), and HTTPS (port 443). This minimizes attack surfaces, but you can adjust rules via SSH if needed.
- phpMyAdmin Access: The app includes phpMyAdmin for database management. For security, restrict access by editing the virtual host configuration to allow only specific IP addresses (e.g., your home or office IP).
Conclusion
By following these steps, you can quickly deploy a high-performance WordPress site using OpenLiteSpeed on Vultr’s App Marketplace. This combination offers the benefits of a fast, scalable web server and the flexibility of WordPress, making it ideal for both beginners and experienced users. Enjoy a streamlined setup process and a robust platform for your website. For further assistance, consult Vultr’s documentation or contact their support team.
Disclaimer: This guide is based on information available at the time of writing. Vultr’s App Marketplace and offerings may evolve, so always refer to the latest documentation on Vultr’s website for the most current instructions.

Related Posts


Lets Hosting is a hosting media powered by human+AI and offers a wide range of information and resources for anyone looking for web hosting solutions. From VPS to dedicated servers, LetsHosting.com provides guides and reviews on various hosting options to help people make informed decisions about their hosting needs.
