Get Started with Docker on Vultr Marketplace: A Step-by-Step Guide for Beginners

Docker is a powerful platform that enables developers to build, ship, and run applications inside containers. Containers are lightweight and portable and ensure that applications run consistently across different environments. Vultr, a popular cloud hosting provider, simplifies deploying Docker through its Marketplace, offering pre-configured applications that can be launched with just a few clicks. This guide provides a detailed, step-by-step walkthrough to deploy Docker using Vultr Marketplace Apps, ensuring you can get started quickly and easily.
Prerequisites
Before you begin, ensure you have the following:
- A Vultr account: If you don’t have one, sign up at vultr.com. You’ll need an active account to access the Marketplace and deploy a server.
Step 1: Log in to Your Vultr Account
- Enter your login credentials (email and password) and click Log In.
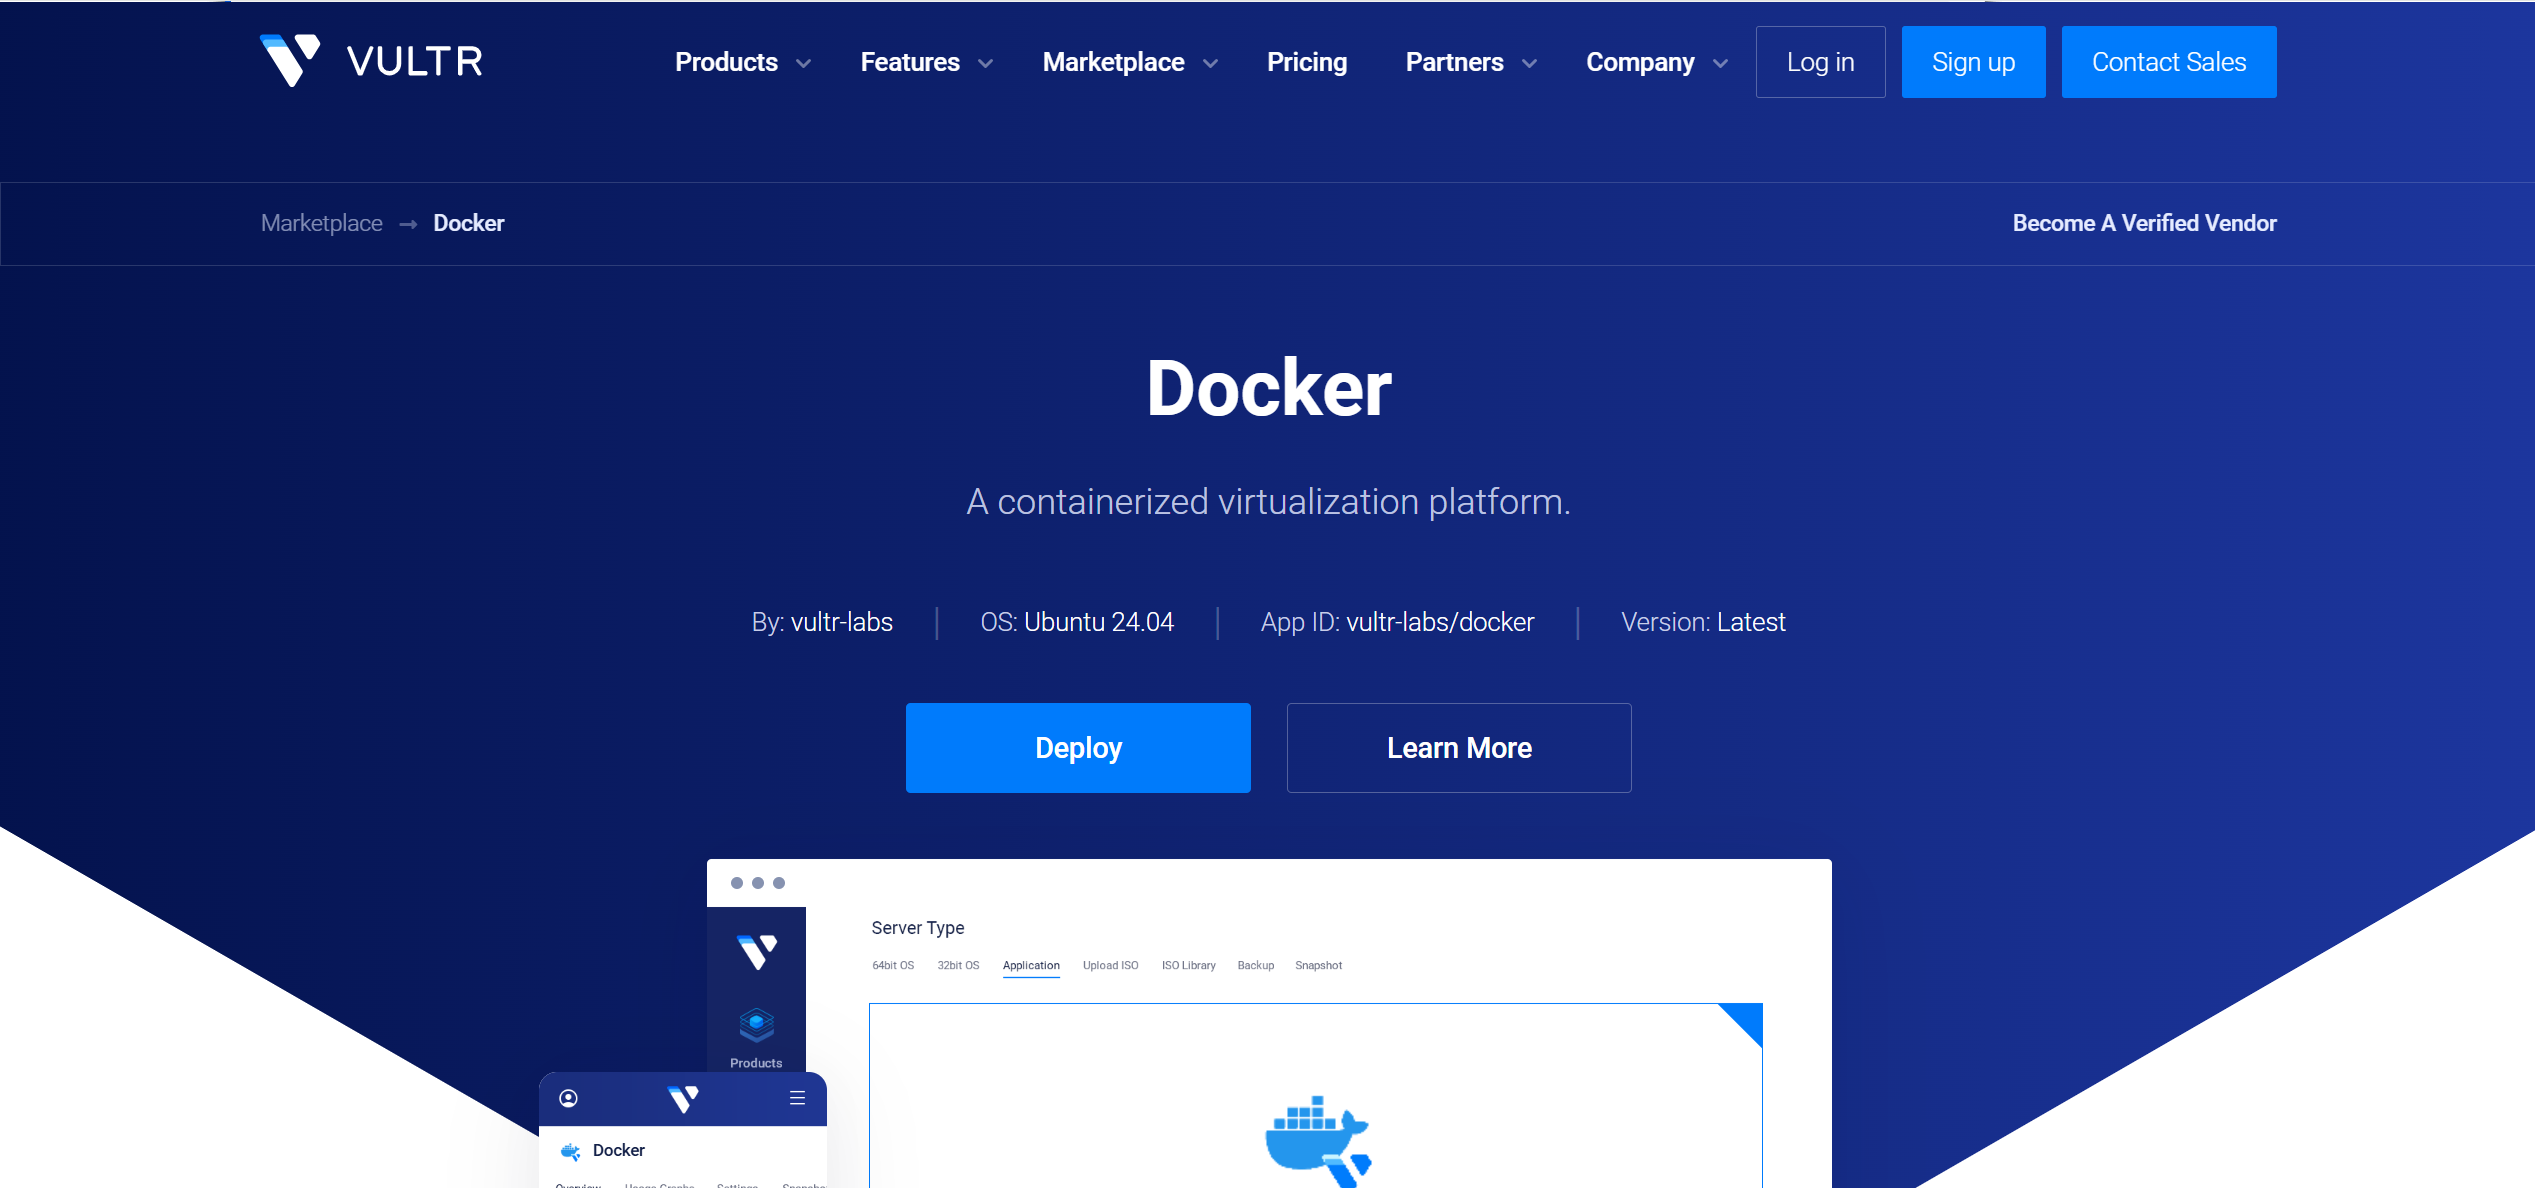
Step 2: Navigate to the Marketplace
- Once logged in, locate the navigation menu on the left-hand side of the dashboard.
- Click on Products to expand the dropdown menu.
- Select Marketplace from the list. Alternatively, if the Marketplace is prominently displayed on your dashboard, you can click it directly.
Step 3: Find the Docker App
- In the Marketplace interface, you’ll see a variety of pre-configured applications.
- Use the search bar at the top and type “Docker” to quickly locate the Docker app, or browse through the categories (e.g., “Developer Tools”) to find it manually.
- Click on the Docker app tile to view its details, such as a description and deployment options.
Step 4: Deploy the Docker App
- On the Docker app’s detail page, click the Deploy button (this might also be labeled as “Deploy Now” or similar).
- You’ll be redirected to the server deployment page, where the Docker app is pre-selected as the server type.
Step 5: Configure Your Server
- Choose a Server Location: Select a data center location from the available options. Pick one closest to you or your target audience to minimize latency.
- Select a Server Plan: Choose a pricing plan that matches your resource needs. Options typically include:
- CPU (number of cores)
- RAM (memory)
- Storage (disk space)
- Bandwidth For basic Docker usage, a small plan (e.g., 1 CPU, 1 GB RAM) may suffice, but scale up based on your application requirements.
- Additional Features: Optionally, enable features like:
- Backups: For automatic server backups.
- Firewall: To restrict network access.
- Private Networking: If you need isolated communication between servers.
- Review your configuration settings to ensure everything is correct.
- Click Deploy Now to initiate the server deployment process.
Step 6: Wait for Deployment
- After clicking “Deploy Now,” Vultr’s cloud orchestration will begin provisioning your server.
- This process typically takes 1-3 minutes, depending on the server size and location.
- Monitor the progress in the Vultr dashboard under the Instances section. You’ll see the status change from “Pending” to “Active” once the server is ready.
Step 7: Access Your Server via SSH
- Once the server is active, locate its details in the Vultr dashboard:
- Go to Products > Instances.
- Click on your newly deployed server to view its information.
- Note the IP address of the server (e.g., 192.168.1.1).
- Vultr provides access credentials during deployment:
- If you used an SSH key, it will be linked to the server.
- If not, a root password will be displayed or emailed to you.
- Open a terminal or SSH client (e.g., PuTTY on Windows, or the built-in terminal on macOS/Linux).
- Connect to the server as the root user using the following command (replace your_server_ip with the actual IP address):bash
ssh root@your_server_ip - If prompted, enter the root password or confirm your SSH key authentication.
Step 8: Switch to the Docker User
- After logging in as root, the Vultr Docker Marketplace app automatically creates a dedicated docker user for managing Docker with limited privileges.
- Switch to this user by running:bash
su - docker - You’ll now be logged in as the docker user, ready to interact with Docker.
Step 9: Verify Docker Installation
- To ensure Docker is installed and functioning correctly, run a test container:bash
docker run hello-world - This command does the following:
- Pulls the lightweight hello-world image from Docker Hub (if not already present).
- Runs a container that outputs a confirmation message.
- If successful, you’ll see output similar to this:
Hello from Docker! This message shows that your installation appears to be working correctly. ... - This confirms that Docker is properly set up and ready for use.
Conclusion
Congratulations! You’ve successfully deployed Docker on a Vultr server using the Marketplace Apps feature. With Docker now running, you can begin creating, managing, and deploying containers for your applications. The Vultr Marketplace simplifies the process by pre-installing Docker and configuring a dedicated user, saving you time and effort.
For next steps, consider:
- Exploring Docker commands to manage containers, images, and networks (e.g., docker ps, docker pull, docker run).
Related Posts


Lets Hosting is a hosting media powered by human+AI and offers a wide range of information and resources for anyone looking for web hosting solutions. From VPS to dedicated servers, LetsHosting.com provides guides and reviews on various hosting options to help people make informed decisions about their hosting needs.
