Detailed Guide for Deploying LinuxGSM Through The Linode Marketplace
Introduction to LinuxGSM
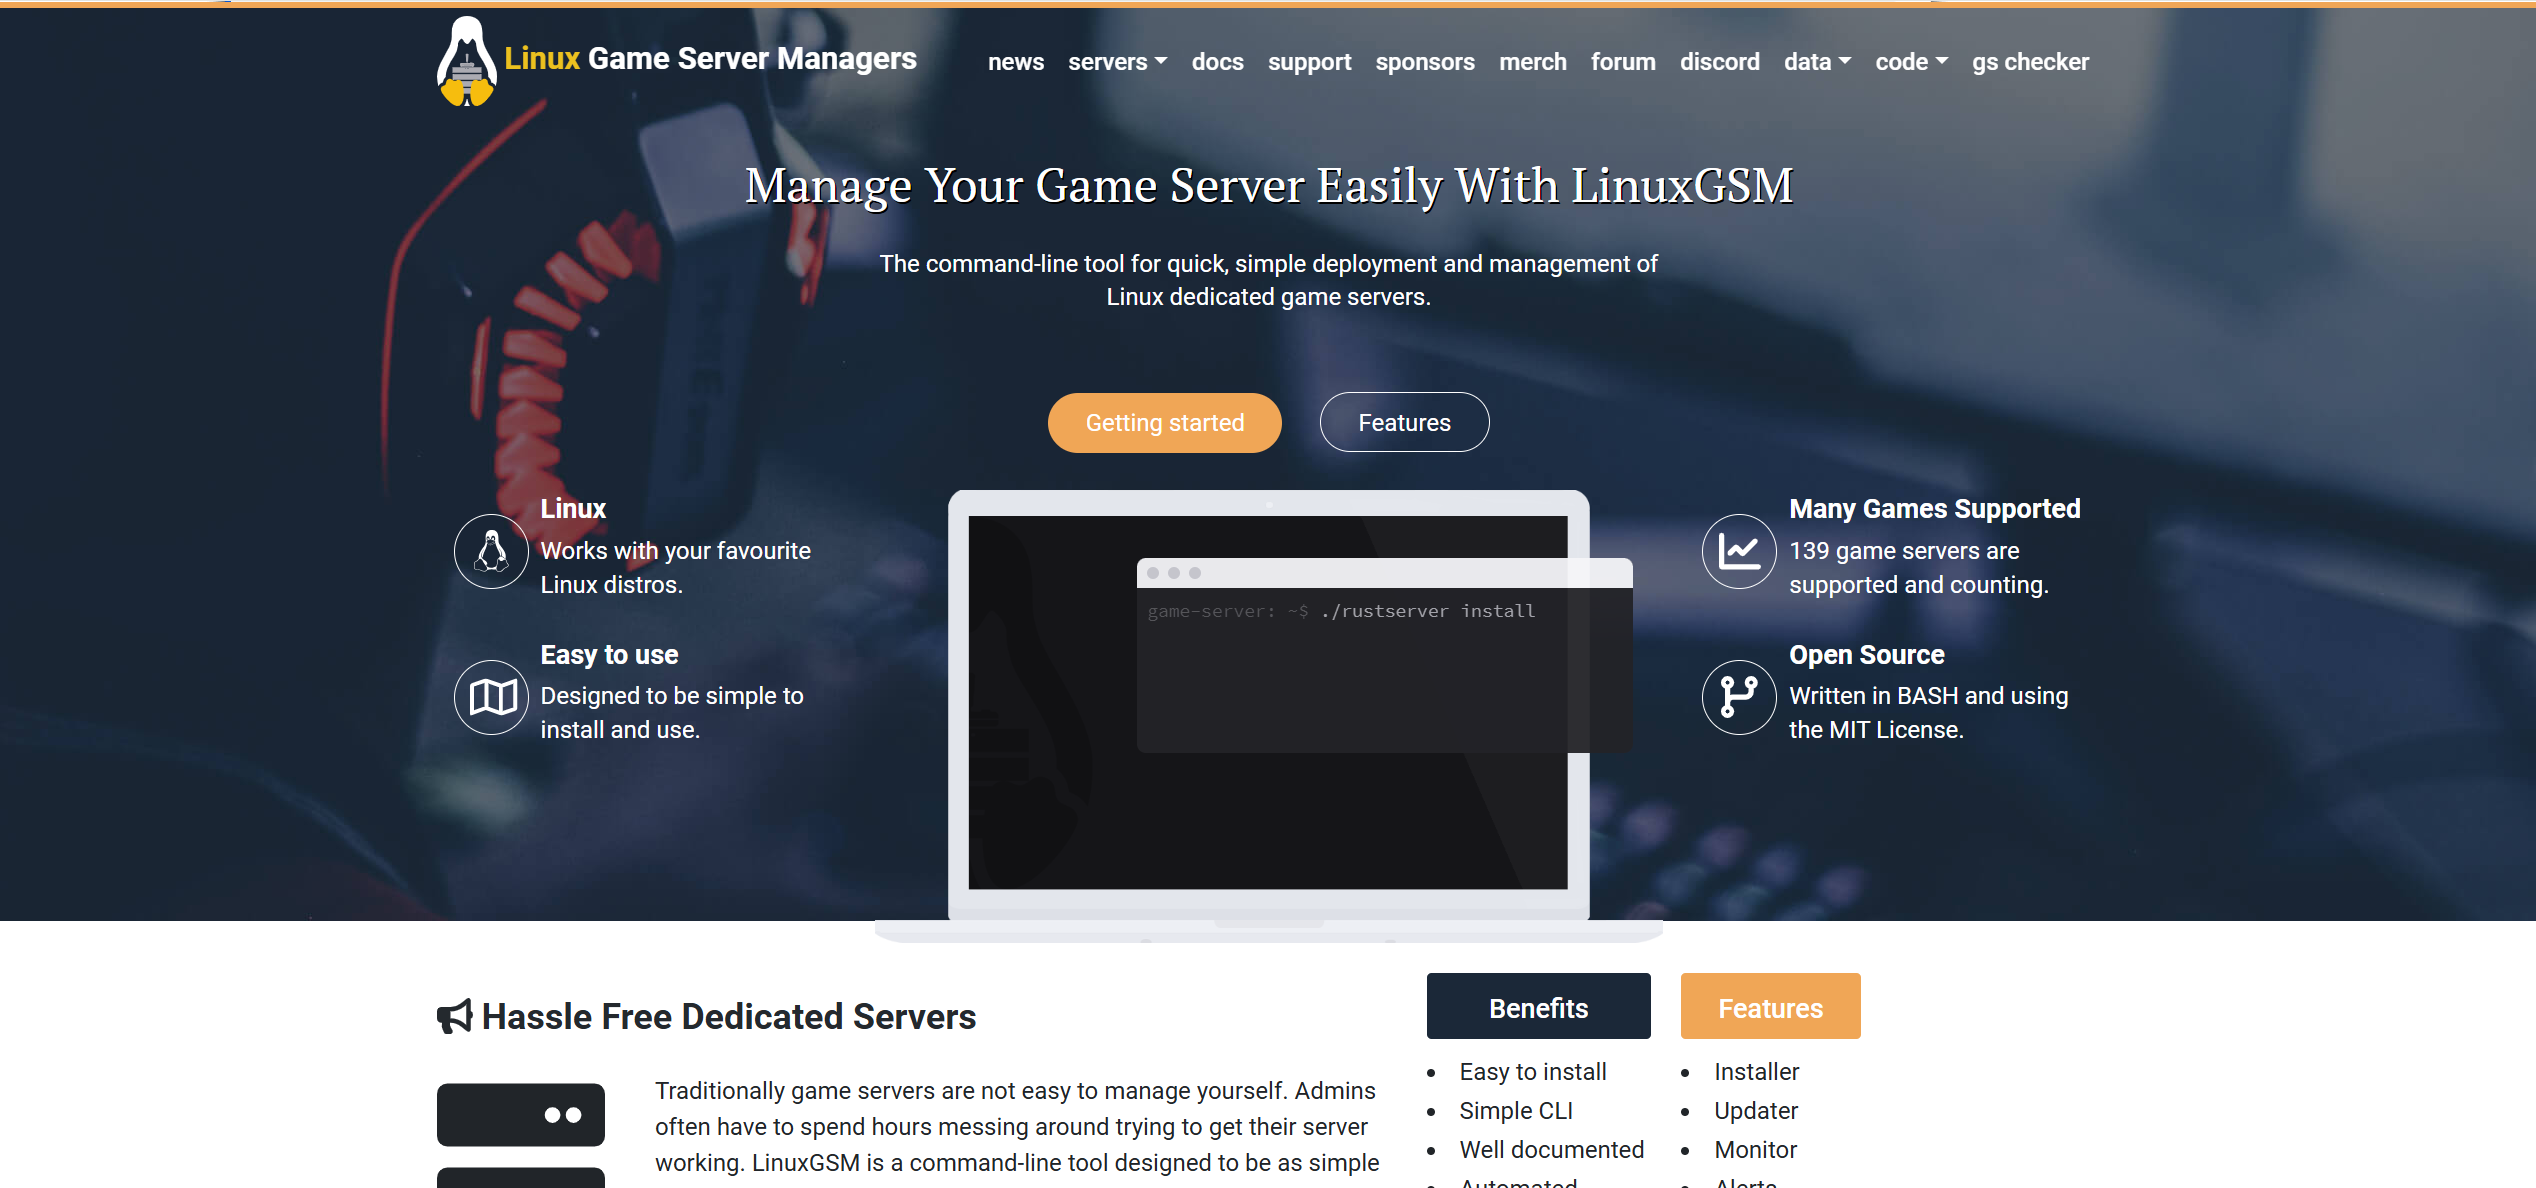
LinuxGSM is a powerful command-line tool designed to simplify the management of game servers. It automates the installation, configuration, and maintenance of game servers, making it an essential tool for gamers and server administrators alike. With LinuxGSM, you can easily deploy and manage servers for popular games like Counter-Strike: Global Offensive (CS:GO), Minecraft, Rust, and many others.
In this guide, we’ll walk you through the process of deploying LinuxGSM on a Linode Compute Instance using the Linode Marketplace. By the end of this guide, you’ll have a fully functional game server up and running, ready to host your favorite multiplayer games.
Prerequisites
Before you begin, ensure you have the following:
- Access to the Linode Cloud Manager: You’ll need to log in to deploy your instance.
- A game server login token (if required): Some games, like Counter-Strike: Global Offensive (CS:GO), require a Steam game server login token. You can obtain this from the Steam Game Server Account Management page.
- Basic understanding of Linux command-line operations: This will help you navigate and manage your server after deployment.
Deploying LinuxGSM through the Linode Marketplace
Follow these steps to deploy LinuxGSM on your Linode Compute Instance:
1. Log in to the Linode Cloud Manager
Navigate to Linode’s Cloud Manager and log in with your credentials.
2. Access the Marketplace
From the left navigation menu, click on Marketplace. This will take you to the Linode Marketplace, where you can browse and deploy various apps, including LinuxGSM.
3. Select LinuxGSM
In the Marketplace, locate the LinuxGSM app. You can use the search bar to find it quickly.
4. Choose Your Plan
Select a suitable plan for your game server. We recommend starting with a 4GB Dedicated CPU Compute Instance for optimal performance, especially for games with higher resource demands. However, you can choose a plan that best fits your needs based on the game’s requirements and the number of players.
5. Fill Out the Form
You’ll need to provide some information to configure your LinuxGSM deployment:
- Game Server Name: Enter the code for the game server you want to install. For example, use csgoserver for Counter-Strike: Global Offensive. Refer to the LinuxGSM Server List for the correct code for your game.
- Limited Sudo User: Enter a username for the limited sudo user that will be created on your instance. This user will have elevated permissions for managing the server.
- Password: Set a strong password for the limited sudo user.
- Email Address: Provide an email address for generating SSL certificates (if applicable).
- Game Server Login Token: If your game requires a login token (e.g., CS:GO), enter it here.
- RCON Password: If your game supports RCON (Remote Console), set a password for remote administration.
6. Deploy the Instance
Review your selections to ensure everything is correct, then click Create Linode to begin the deployment process.
7. Wait for Deployment
The deployment process may take 10-15 minutes. You can monitor the progress in the Linode Cloud Manager. Once the instance is provisioned and the software installation is complete, you can proceed to the next steps.
Post-Deployment Steps
After the deployment is complete, follow these steps to finalize your game server setup:
1. Verify Installation
To ensure LinuxGSM has been installed correctly, log in to your Linode instance via SSH using the limited sudo user credentials you provided during deployment. Use the following command from your local terminal:
bash
ssh username@your_linode_ipReplace username with the limited sudo user you created and your_linode_ip with the IP address of your Linode instance (found in the Linode Cloud Manager under the Linodes section).
2. Complete Server Installation
Once logged in, switch to the linuxgsm user and navigate to the home directory to complete the game server installation:
bash
su linuxgsm
cd /home/linuxgsm
./$GAMESERVERNAME install
Replace $GAMESERVERNAME with the actual name of your game server (e.g., csgoserver for CS:GO). This command will install the necessary game files and dependencies.
3. Configure Your Server
After installation, you can configure your game server by editing the configuration files located in the server’s directory. The exact location and files will depend on the game you’re hosting. Refer to the game’s official documentation or the LinuxGSM documentation for specific configuration options.
4. Start Your Server
Use LinuxGSM commands to start, stop, and manage your game server. Here are some common commands:
- Start the server:bash
./$GAMESERVERNAME start - Stop the server:bash
./$GAMESERVERNAME stop - Restart the server:bash
./$GAMESERVERNAME restart - Check the server status:bash
./$GAMESERVERNAME details
5. Access Your Server
To connect to your game server, use the IP address of your Linode instance and the appropriate port for your game. You can find the IP address in the Linode Cloud Manager under the Linodes section.
For example, in CS:GO, you can connect by opening the developer’s console in the game and typing:
connect your_linode_ip:portIf you set a server password during deployment, you may need to include it in the connection command.
Troubleshooting and Additional Resources
- Installation Issues: If you encounter issues during installation, check the LinuxGSM logs for errors. Logs are typically located in the server’s log directory (e.g., /home/linuxgsm/log).
- Firewall Configuration: Ensure that your Linode’s firewall allows incoming traffic on the necessary ports for your game server. You can manage firewall rules in the Linode Cloud Manager under Firewalls.
- Support: For further assistance, visit the LinuxGSM documentation or contact Linode Support via the Cloud Manager.
By following this guide, you should now have a fully operational game server hosted on Linode, managed through LinuxGSM. Enjoy gaming with your friends on your very own server!

Related Posts