Comprehensive Guide on How to Deploy CyberPanel Using the Vultr App Marketplace
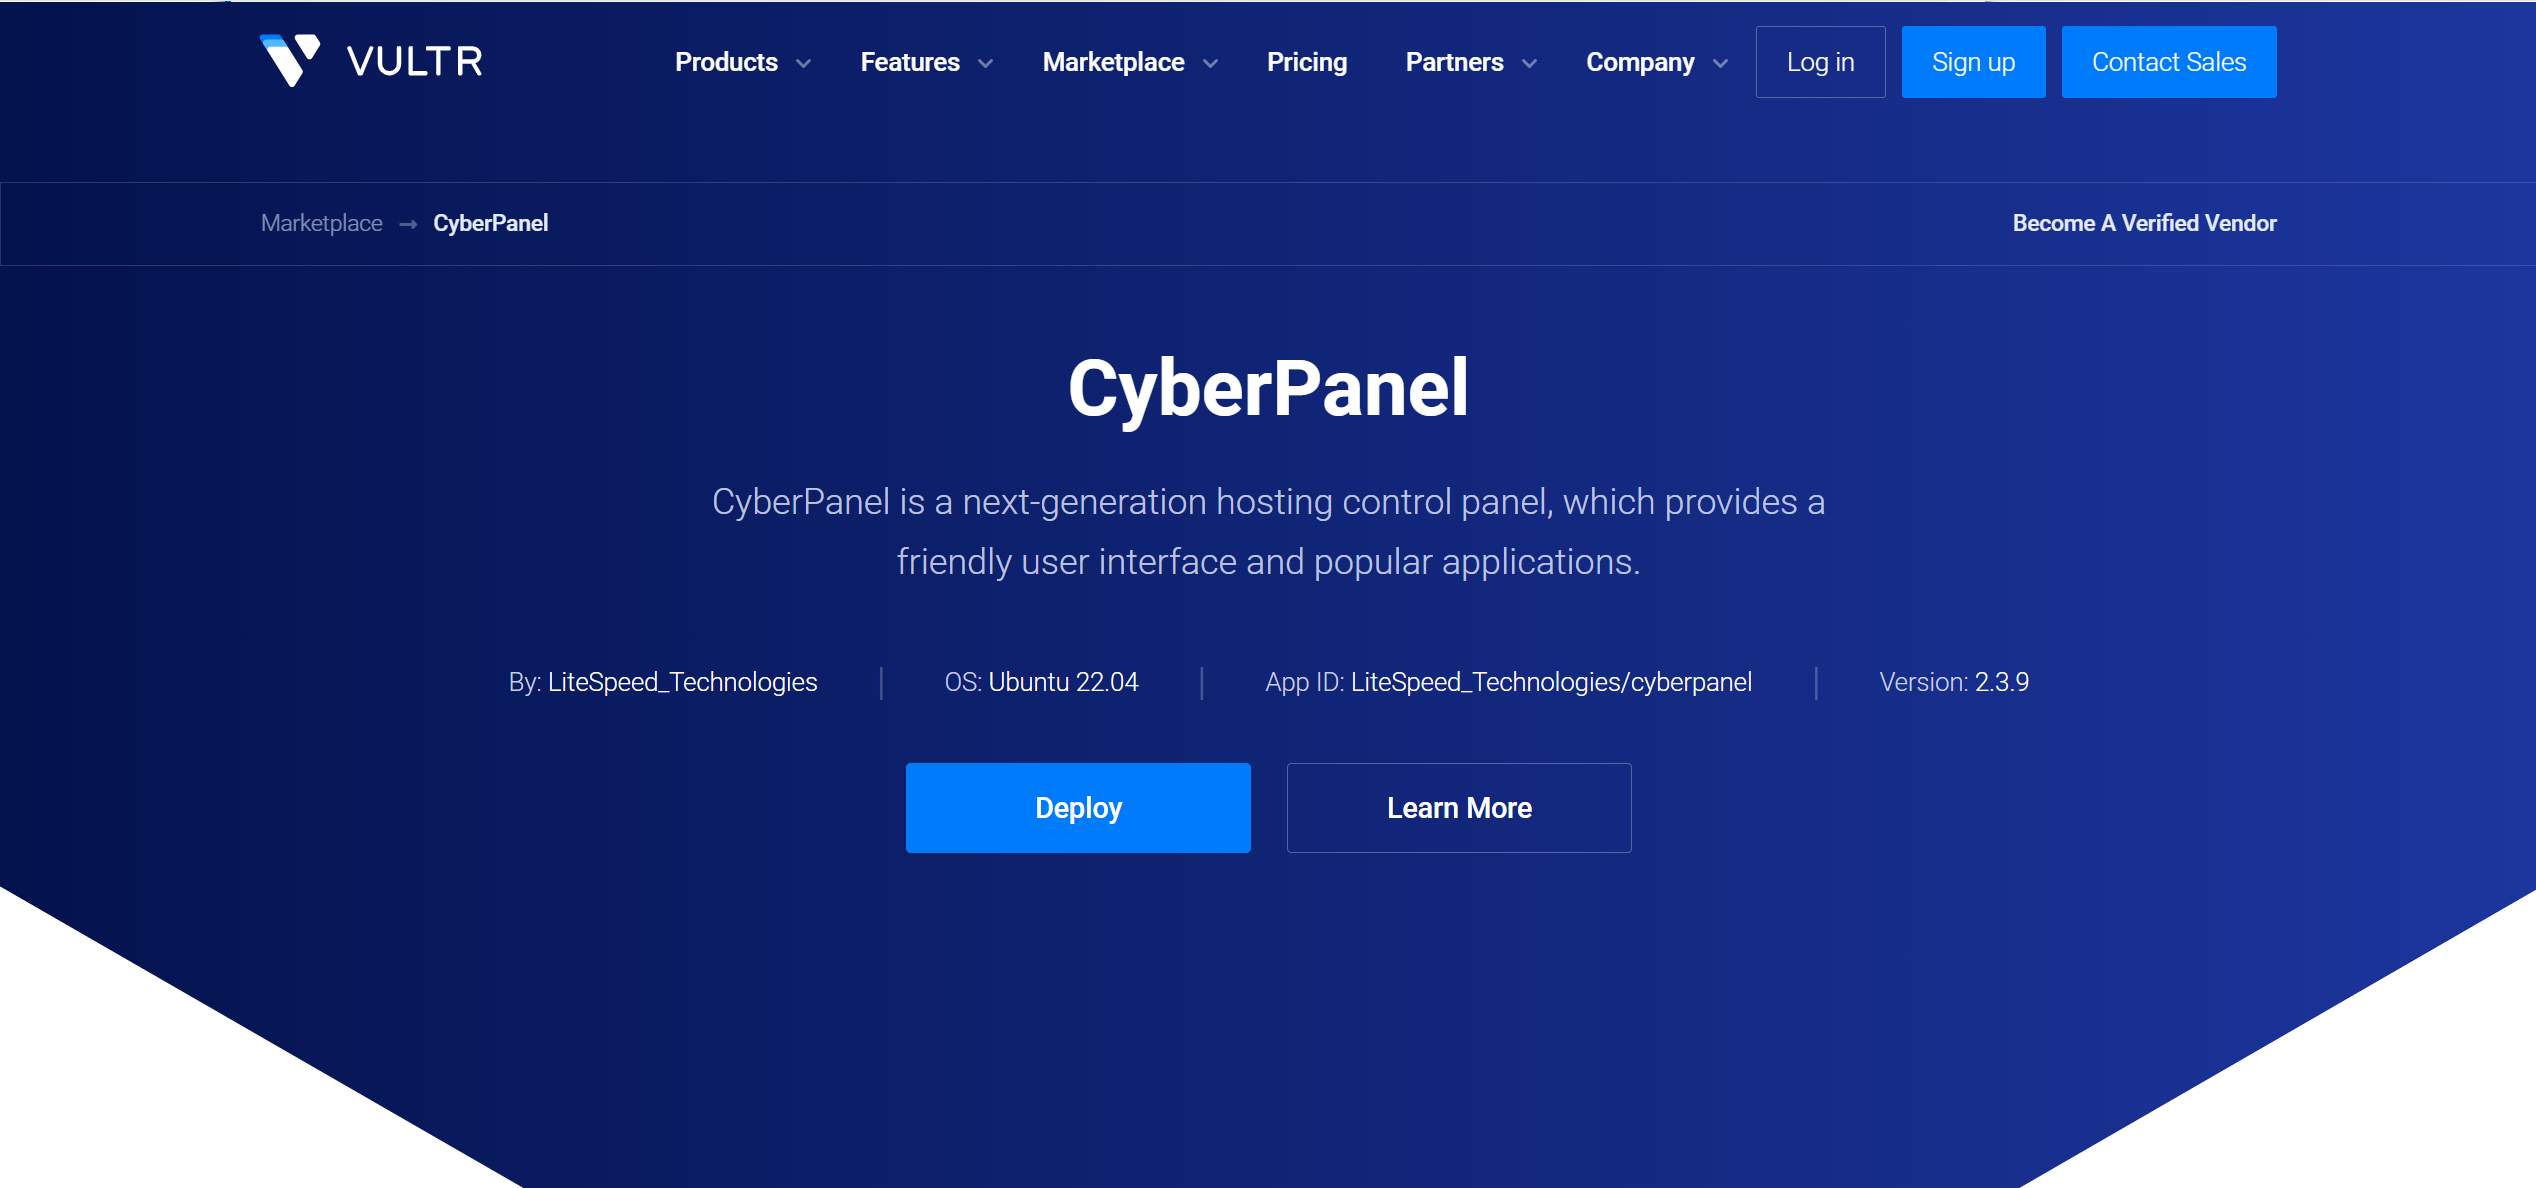
CyberPanel is a next-generation hosting control panel that offers a friendly user interface and a suite of popular applications, making it an excellent choice for managing web hosting environments. It simplifies tasks such as deploying websites, managing databases, and handling email accounts, making it suitable for beginners and experienced users. Additionally, CyberPanel is free and open-source, providing a cost-effective alternative to other control panels like cPanel or Plesk.
One of the easiest ways to deploy CyberPanel is through the Vultr App Marketplace. Vultr is a cloud hosting provider that offers a wide range of virtual private servers (VPS) and cloud services. The App Marketplace allows you to deploy pre-configured applications, including CyberPanel, with just a few clicks. This guide will walk you through the step-by-step process of deploying CyberPanel on a Vultr server.
Prerequisites
- Sufficient funds in your Vultr account to cover the cost of the server.
Step-by-Step Guide
Step 1: Log into Your Vultr Account
- If you don’t have a Vultr account, visit the Vultr website and follow the registration process to create one.
- Once registered, log in to your Vultr account to access the dashboard.
Step 2: Navigate to the Marketplace
- In the Vultr dashboard, locate the top navigation menu.
- Click on the Marketplace tab to access the Vultr App Marketplace, where you can browse and deploy various applications.
Step 3: Select CyberPanel
- In the Marketplace, use the search bar to find CyberPanel or scroll through the list of available applications.
- Click on the CyberPanel option to view more details and begin the deployment process.
Step 4: Configure Your Server
After selecting CyberPanel, configure your server settings:
- Server Location: Choose a location close to your target audience for optimal performance (e.g., a US-based server for North American users).
- Server Size: Select a plan that meets CyberPanel’s minimum requirements. A server with at least 1 CPU, 1 GB RAM, and 25 GB storage is recommended.
- Additional Options (optional):
- Enable IPv6 for broader network compatibility.
- Add SSH keys for secure server access.
- Enable automatic backups for data protection.
Step 5: Deploy the Server
- Review your configuration, then click the Deploy Now button.
- Vultr will begin provisioning your server with CyberPanel pre-installed.
Step 6: Wait for Deployment
- The deployment process typically takes a few minutes. Monitor the progress in the Vultr dashboard under the Instances section.
- Once complete, your server is listed, indicating it’s ready for use.
Step 7: Access the CyberPanel Interface
- Open a web browser and navigate to:
https://your-server-ip:8090(Replace your-server-ip with your server’s actual IP address, found in the Vultr dashboard.) - You may need to accept a self-signed SSL certificate to proceed, as CyberPanel uses HTTPS by default.
Step 8: Retrieve the Admin and MySQL Passwords
- Connect to your server via SSH using a terminal or an SSH client (e.g., PuTTY).
- Retrieve the admin password by running:
cat .litespeed_password - Retrieve the MySQL password for the cyberpanel user by running:
cat .db_password - Save these passwords securely, as they are required for logging in and managing databases.
Step 9: Set Up Initial Configuration
- Log in to CyberPanel using the admin password from Step 8.
- Follow the on-screen prompts to:
- Set a new admin password (optional but recommended for security).
- Configure basic server settings, such as hostname or timezone.
Step 10: Explore Additional Features
CyberPanel includes built-in tools for enhanced functionality:
- phpMyAdmin: Manage databases at:
https://your-server-ip:8090/dataBases/phpMyAdmin - Rainloop: Access webmail at:
https://your-server-ip:8090/rainloop
Troubleshooting Common Issues
- Deployment Delays: If deployment takes longer than expected, check the server status in the Vultr dashboard. Times vary based on server size and location.
- Cannot Access CyberPanel: Ensure port 8090 is open in your firewall. In the Vultr dashboard, go to the Firewall section and allow traffic on port 8090.
- Lost Passwords: Re-run the SSH commands from Step 8 (cat .litespeed_password and cat .db_password) to retrieve them.
For further assistance, visit the CyberPanel community forums or contact Vultr support.
Conclusion
Congratulations! You’ve successfully deployed CyberPanel using the Vultr App Marketplace. With its intuitive interface and powerful features, CyberPanel allows you to manage websites, databases, and email accounts effortlessly. Whether you’re hosting a personal blog or a business site, CyberPanel provides the tools you need to succeed.

Related Posts


Lets Hosting is a hosting media powered by human+AI and offers a wide range of information and resources for anyone looking for web hosting solutions. From VPS to dedicated servers, LetsHosting.com provides guides and reviews on various hosting options to help people make informed decisions about their hosting needs.
