How To Deploy an OpenVPN Access Server Using the Vultr App Marketplace

Below is a detailed guide on deploying an OpenVPN Access Server using the Vultr App Marketplace. This guide is designed to be straightforward and accessible, even for those who may not have extensive technical experience with cloud hosting or VPN setups. By following these steps, you can set up your own private VPN server quickly and securely.
Introduction
A Virtual Private Network (VPN) allows you to securely connect to the internet or access private resources by routing your traffic through an encrypted server. OpenVPN is one of the most popular and secure VPN solutions available, and Vultr, a cloud hosting provider, makes it easy to deploy an OpenVPN Access Server through its App Marketplace. This guide will walk you through the entire process, from creating a Vultr account to connecting to your VPN from your device.
Why Use OpenVPN on Vultr?
- Security: OpenVPN is open-source and highly secure, using strong encryption to protect your data.
- Flexibility: You can connect from multiple devices and locations, making it ideal for personal or small business use.
- Ease of Deployment: Vultr’s App Marketplace allows you to deploy a pre-configured OpenVPN server in just a few clicks.
- Global Reach: Vultr offers server locations worldwide, so you can choose a server close to you for optimal performance.
OpenVPN Access Server Prerequisites
Before starting, ensure you have the following:
- A Vultr account. If you don’t have one, sign up at Vultr.com. New users often receive free credits to get started.
- Basic understanding of VPNs and cloud servers (though not required, as this guide is beginner-friendly).
Step-by-Step Guide
Step 1: Log in to Your Vultr Account
- If you’re new to Vultr, create an account by following the on-screen instructions. You may need to verify your email and add a payment method.
Step 2: Start Deploying a New Server
- Once logged in, click the “Deploy” button on the Vultr dashboard. This will take you to the server creation page.
Step 3: Choose the Server Location
- Select a server location from the list of available data centers. For the best performance, choose a location that is geographically close to you or your intended users.
- Example: If you’re in Europe, select a location like Frankfurt or Paris.
Step 4: Select the Server Type
- Choose “Cloud Compute” as the server type. This is Vultr’s standard VPS offering and is suitable for running a VPN server.
Step 5: Choose the Server Size
- Select the server size based on your needs. For a basic VPN setup with a few users, a small instance is sufficient.
- Recommendation: Start with the 1 CPU, 1GB RAM option, which costs around $5 per month. You can always upgrade later if needed.
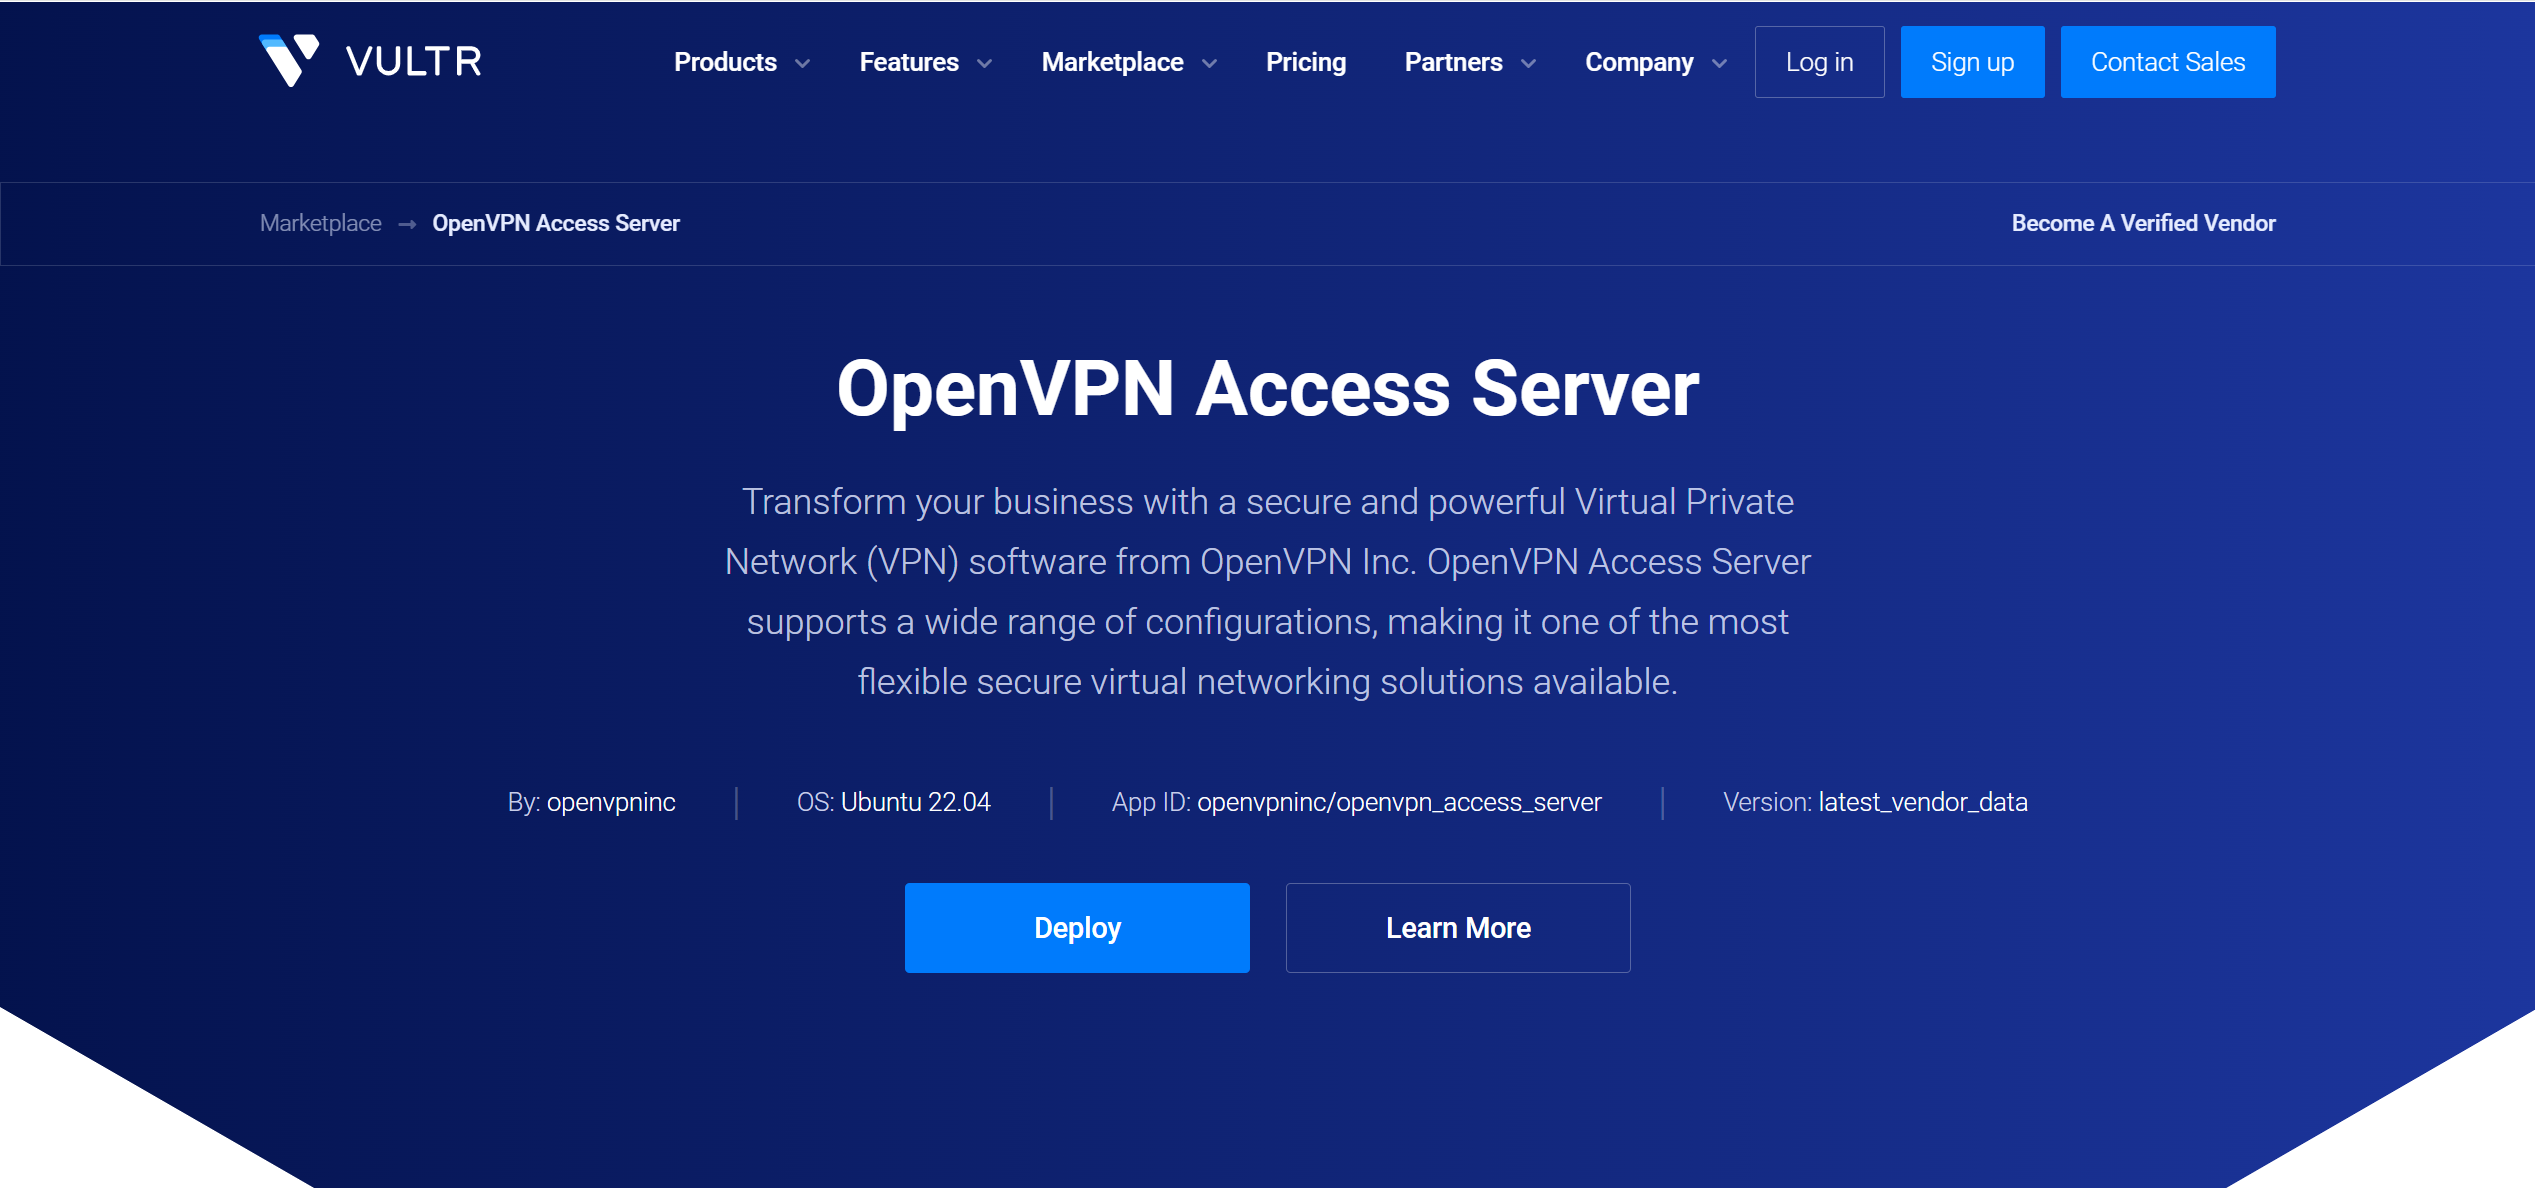
Step 6: Select the OpenVPN Access Server from the Marketplace
- Under the “Server Image” section, switch to the “Marketplace Apps” tab.
- Scroll through the list or use the search bar to find “OpenVPN Access Server”.
- Click on it to select it as your server image.
Step 7: Deploy the Server
- Review your selections to ensure everything is correct.
- Click the “Deploy Now” button to create your server instance.
- Wait for the server to be provisioned. This typically takes a few minutes.
Step 8: Retrieve the Admin Login Credentials
- Once the server is deployed, go to the “Instances” section in the Vultr dashboard.
- Click on your newly created server to open the “Server Information” page.
- Look for the admin login credentials for the OpenVPN Access Server. These credentials are usually provided here, with the username likely being “openvpn” and a generated password.
- Note: If the password is not immediately visible, it may be set to a default value like “openvpn.pwd”, but it’s best to confirm on the server information page.
Step 9: Access the OpenVPN Admin Panel
- Open a web browser and navigate to https://your-server-ip/admin, replacing “your-server-ip” with the actual IP address of your Vultr server (found on the Server Information page).
- You may see a security warning due to the self-signed SSL certificate. It’s safe to proceed by clicking “Advanced” and then “Proceed to site” (or similar, depending on your browser).
- Log in using the admin credentials you retrieved in Step 8.
Step 10: Configure the VPN Settings
- Once logged into the admin panel, you can configure the VPN to suit your needs. Some recommended initial steps include:
- Change the admin password: For security, update the default admin password to something strong and unique.
- Add user accounts: Create separate user accounts for each person or device that will connect to the VPN.
- Adjust VPN settings: Decide whether to route all internet traffic through the VPN or only specific traffic.
- Explore the admin panel to familiarize yourself with other settings, such as authentication methods and connection limits.
Step 11: Set Up the VPN Client
- To connect to your VPN, users will need to access the user portal at https://your-server-ip/ (without “/admin”).
- Log in with a user account (either the default or one you created in Step 10).
- Download the client configuration file (usually a .ovpn file) from the user portal.
- Install the OpenVPN client on your device:
- For Android and iOS: Download the OpenVPN app from the respective app stores (e.g., Google Play Store or Apple App Store).
- Import the downloaded .ovpn file into the OpenVPN client.
Step 12: Connect to Your VPN
- Open the OpenVPN client on your device.
- Select the imported configuration and click “Connect”.
- Enter your user credentials if prompted.
- Once connected, your internet traffic will be routed through the VPN, and you can access private resources securely.
Important Notes
- Concurrent Connections: By default, the OpenVPN Access Server allows two concurrent VPN connections. If you need more, you can purchase an activation key from OpenVPN to unlock additional connections.
- Security: Since the server uses a self-signed SSL certificate, you may need to bypass security warnings in your browser and VPN client. For production use, consider setting up a proper SSL certificate with a domain name.
- Performance: When connected to the VPN, your internet speed may be slower due to encryption and routing. Choose a server location close to you to minimize latency.
- Updates: Vultr does not automatically update deployed instances. You are responsible for keeping the OpenVPN software and server operating system up to date, which can typically be done via the admin panel or server command line.
Conclusion
Congratulations! You’ve successfully deployed your own OpenVPN Access Server using the Vultr App Marketplace. This setup provides a secure and flexible way to protect your internet activity or access private resources remotely. If you need further customization, explore the OpenVPN admin panel to adjust settings like user permissions, authentication methods, and more. For any questions or issues, feel free to reach out to Vultr’s support team or consult the OpenVPN documentation. Happy VPN-ing!
Related Posts


Lets Hosting is a hosting media powered by human+AI and offers a wide range of information and resources for anyone looking for web hosting solutions. From VPS to dedicated servers, LetsHosting.com provides guides and reviews on various hosting options to help people make informed decisions about their hosting needs.
