Guide: How to Deploy a Jitsi Cluster Using Akamai (Linode) App Marketplace
This guide provides a step-by-step process for deploying a Jitsi cluster using the Akamai (formerly Linode) App Marketplace. Jitsi is an open-source video conferencing platform that allows you to host secure, scalable, and fully encrypted meetings. By deploying a Jitsi cluster through the Akamai App Marketplace, you can leverage high-availability infrastructure to ensure your video conferencing service remains reliable and performant, even under heavy usage.
1. Introduction to Jitsi and Akamai (Linode) App Marketplace
What is Jitsi?
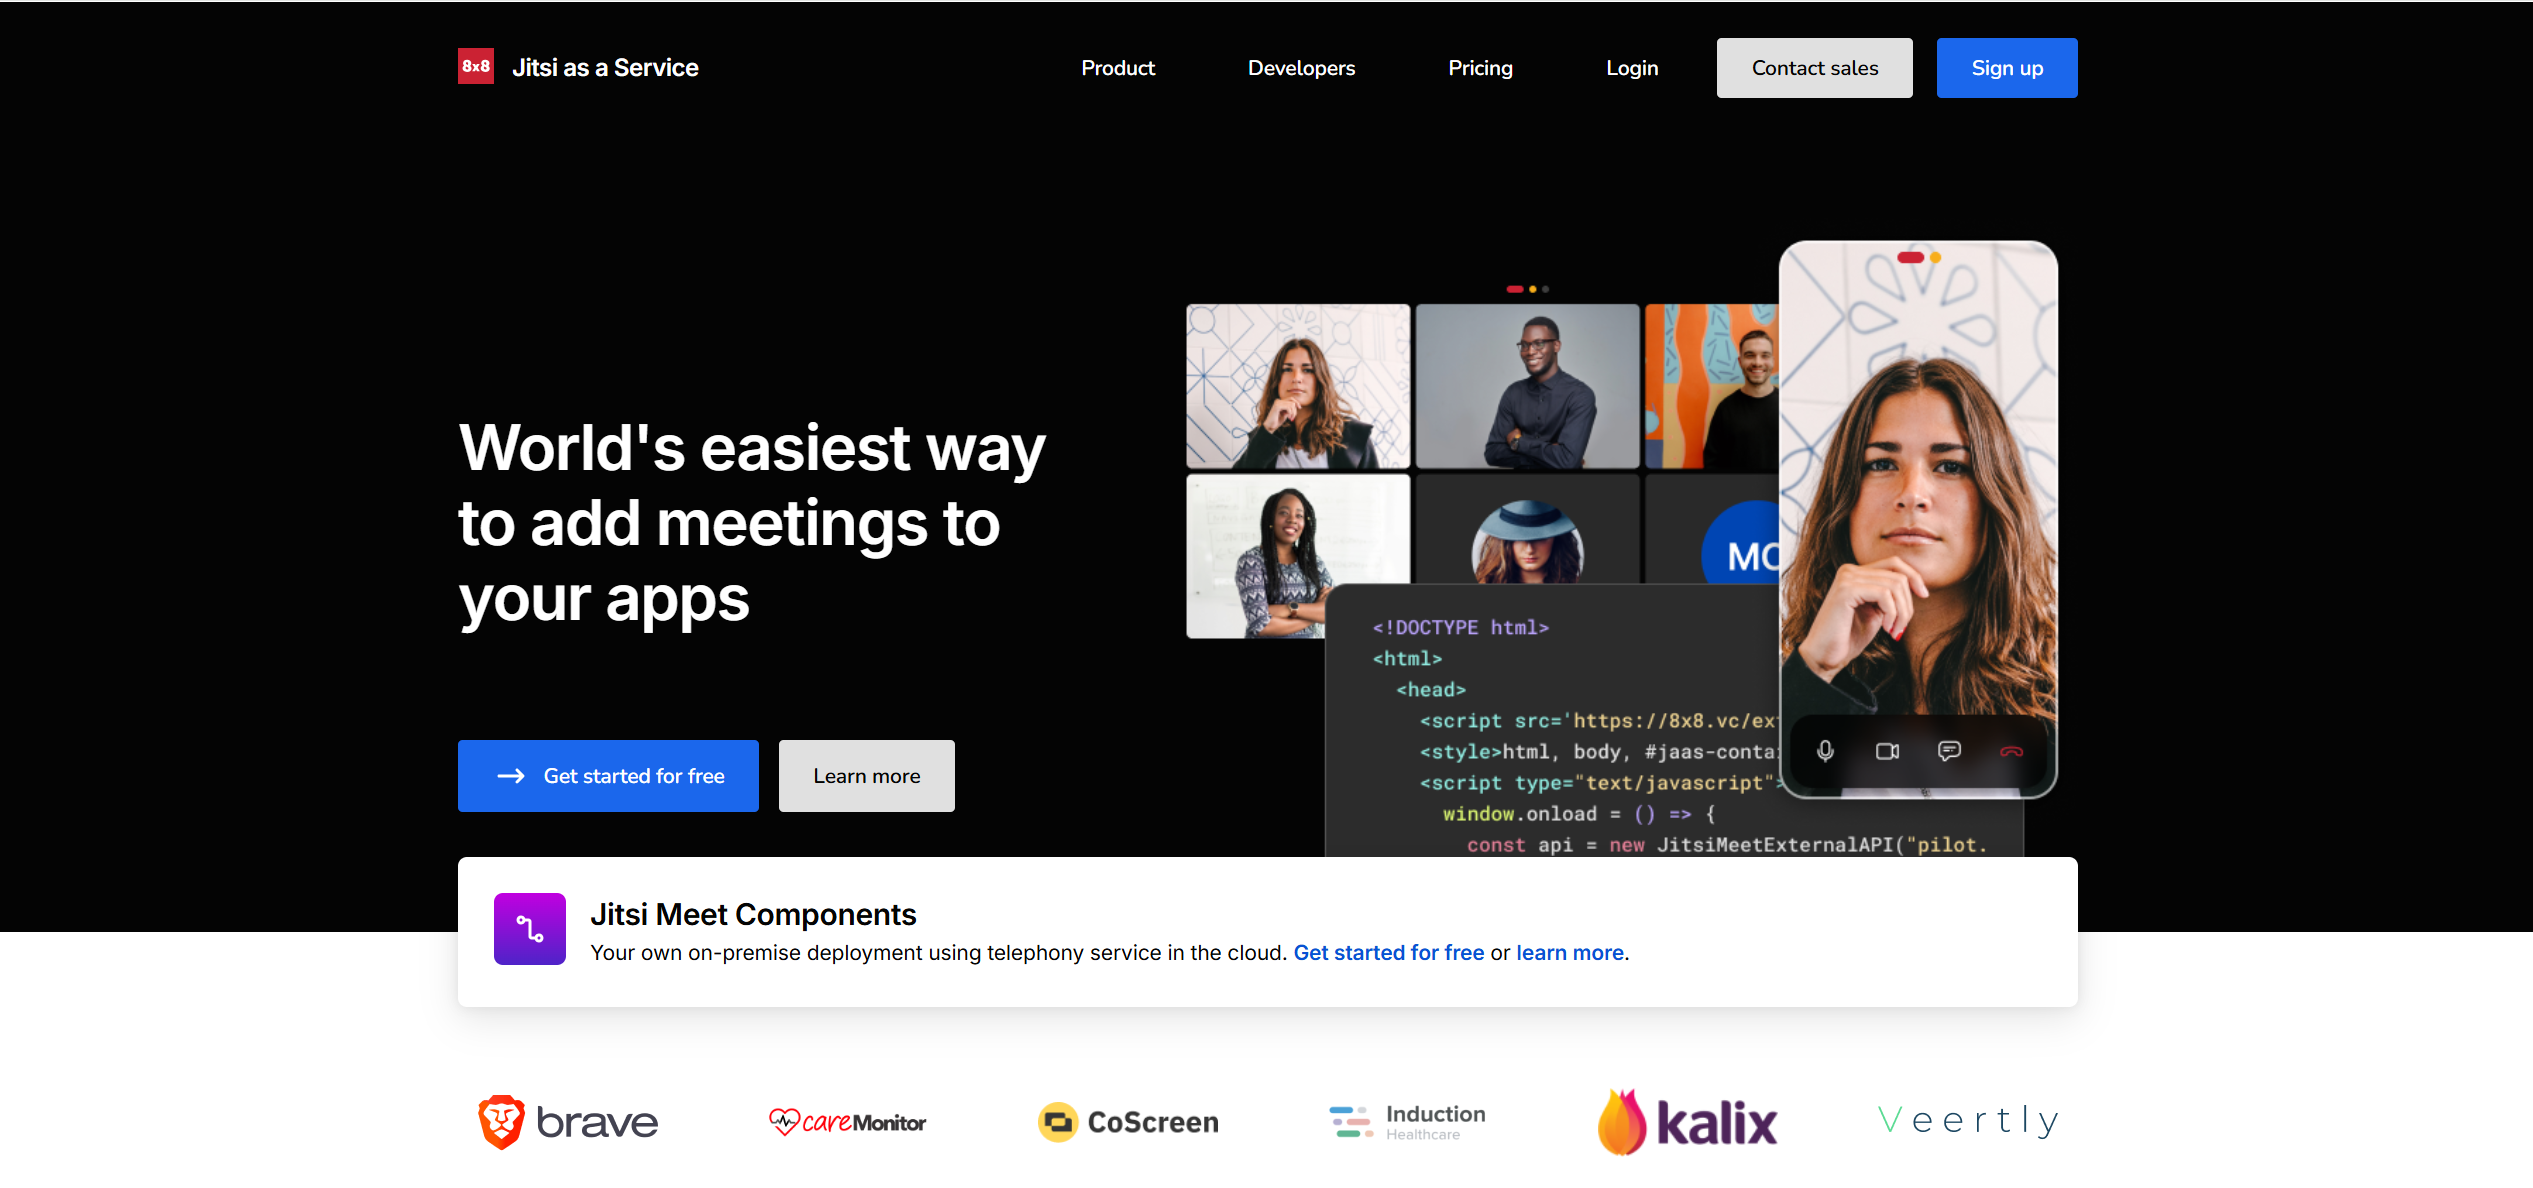
Jitsi is a collection of open-source projects that enable video conferencing and communication. The core tool, Jitsi Meet, provides a fully encrypted service that can be accessed without creating an account, making it a popular alternative to proprietary solutions like Zoom. Key features include group chat, screen sharing, and the ability to join meetings via phone.
What is the Akamai (Linode) App Marketplace?
The Akamai App Marketplace (formerly Linode Marketplace) allows users to deploy pre-configured applications, including Jitsi, on Akamai’s cloud infrastructure with just a few clicks. This simplifies the deployment process, especially for users who may not have extensive experience with cloud computing or application setup.
2. Prerequisites
Before starting the deployment process, ensure you have the following:
- Akamai (Linode) Account: You must have an active account with Akamai (Linode). If you’re new, sign up at cloud.linode.com—new users may be eligible for a $100 credit for 60 days.
- Basic Cloud Computing Knowledge: Familiarity with concepts like compute instances, DNS, and IP addresses will be helpful.
- Understanding of Jitsi: While not required, knowing Jitsi’s features and use cases can help you make informed decisions during deployment.
- Custom Domain (Optional): If you plan to use a custom domain (e.g., meet.example.com), ensure it is configured to use Akamai’s name servers for automatic DNS setup during deployment.
3. Step-by-Step Deployment Instructions
Follow these steps to deploy a Jitsi cluster using the Akamai App Marketplace:
Step 1: Log in to the Cloud Manager
Step 2: Navigate to the Marketplace
- In the left navigation menu, click Marketplace. This opens the Marketplace tab on the Linode Create page.
Step 3: Select the Jitsi Cluster App
- In the Select App section, scroll or use the search bar to find Jitsi Cluster.
- Click the app to proceed to the configuration form.
Step 4: Complete the Deployment Form
- Fill out the deployment form with the following details:
- Region: Choose a data center close to your users for optimal performance (e.g., US-East for East Coast users).
- Plan: Select a plan based on your needs. For best results, use an 8GB Dedicated CPU or Shared Compute Instance, especially for large or multiple simultaneous meetings.
- Label: Assign a name to your compute instance (e.g., jitsi-cluster-01) for easy identification.
- Root Password: Set a strong password for the root user.
- Additional Jitsi-specific options are covered in Step 5.
Step 5: Configure Jitsi-Specific Options (Optional)
- Custom Domain: To use a custom domain:
- Provide a Linode API Token with Read/Write access to Domains. Generate this in the Cloud Manager under API Tokens.
- Enter your Subdomain (e.g., meet) and Domain (e.g., example.com) in the provided fields.
- Limited Sudo User: Enter a username for a limited sudo user (e.g., jitsiadmin). Avoid capital letters, spaces, or special characters. A password will be generated automatically.
- Disable Root Access Over SSH: For enhanced security, select Yes to block root login via SSH. You can still access the root user via the Lish console.
Step 6: Deploy the App
- Review your selections and click Create Linode to start the deployment.
- Deployment typically takes 5-10 minutes. Monitor progress in the Cloud Manager under the instance’s details page.
4. Configuration Options
During deployment, you can customize these settings:
- Plan Selection: An 8GB Dedicated CPU or Shared Compute Instance is recommended for optimal performance, especially for large meetings.
- Custom Domain Setup: Provide an API token and domain details to automate DNS configuration.
- SSH Key Assignment: Assign an SSH key to the limited sudo user for secure access. This key will also apply to the root user.
- API Token for DNS Management: Required for custom domains to manage DNS records automatically.
Warning: Avoid using double quotation marks (“) in any configuration fields, as this may cause deployment errors.
5. Post-Deployment Tasks
After deployment completes, perform these steps to access and configure your Jitsi cluster:
Step 1: Verify Installation
- Check the instance status in the Cloud Manager to ensure the app is fully installed. See Verify Installation for details.
Step 2: Access the Jitsi Application
- Without a Custom Domain:
- Find the rDNS address (e.g., 192-0-2-1.ip.linodeusercontent.com) in the Networking tab of your Linode’s detail page.
- Open this address in a browser to access Jitsi.
- With a Custom Domain:
- Visit your configured domain (e.g., meet.example.com).
- Start a meeting by following the on-screen prompts.
Step 3: Retrieve Credentials (If Applicable)
- If you created a limited sudo user, retrieve the password by:
- Connecting to the instance via SSH (using the assigned key) or Lish.
- Running:
cat /home/$USERNAME/.credentialsReplace $USERNAME with your sudo username (e.g., jitsiadmin).
Step 4: Configure Additional Settings (Optional)
- Log into Jitsi and explore admin settings to customize features like meeting passwords, streaming, or integrations.
6. Troubleshooting and Support
Common Issues
- DNS Configuration Errors: Verify your domain uses Akamai’s name servers if using a custom domain.
- SSH Access Problems: If root access is disabled and no SSH key was assigned, use the Lish console to retrieve the sudo user’s password.
Support Resources
7. Conclusion
Deploying a Jitsi cluster via the Akamai (Linode) App Marketplace offers a quick and efficient way to set up a scalable video conferencing service. With this guide, you can have your instance running in under 10 minutes, complete with options for customization and security. After deployment, explore advanced features like scaling your cluster or integrating additional tools to suit your needs.
For more details, refer to the Jitsi Documentation or Akamai’s Marketplace Documentation.

Related Posts