Laravel Application Deployment Guide: Step-by-Step with Vultr Marketplace Apps
Here is a comprehensive guide on deploying a Laravel application using Vultr Marketplace Apps. This step-by-step tutorial will walk you through setting up a Vultr server with a pre-configured Laravel environment, uploading your custom Laravel application, and configuring it to run securely with SSL. By the end of this guide, your Laravel application will be live and accessible via your domain.
Step 1: Sign Up for a Vultr Account
If you don’t already have a Vultr account, visit vultr.com and sign up. Vultr is a cloud hosting provider that offers pre-configured applications, including Laravel, through their Marketplace Apps, making deployment quick and straightforward.
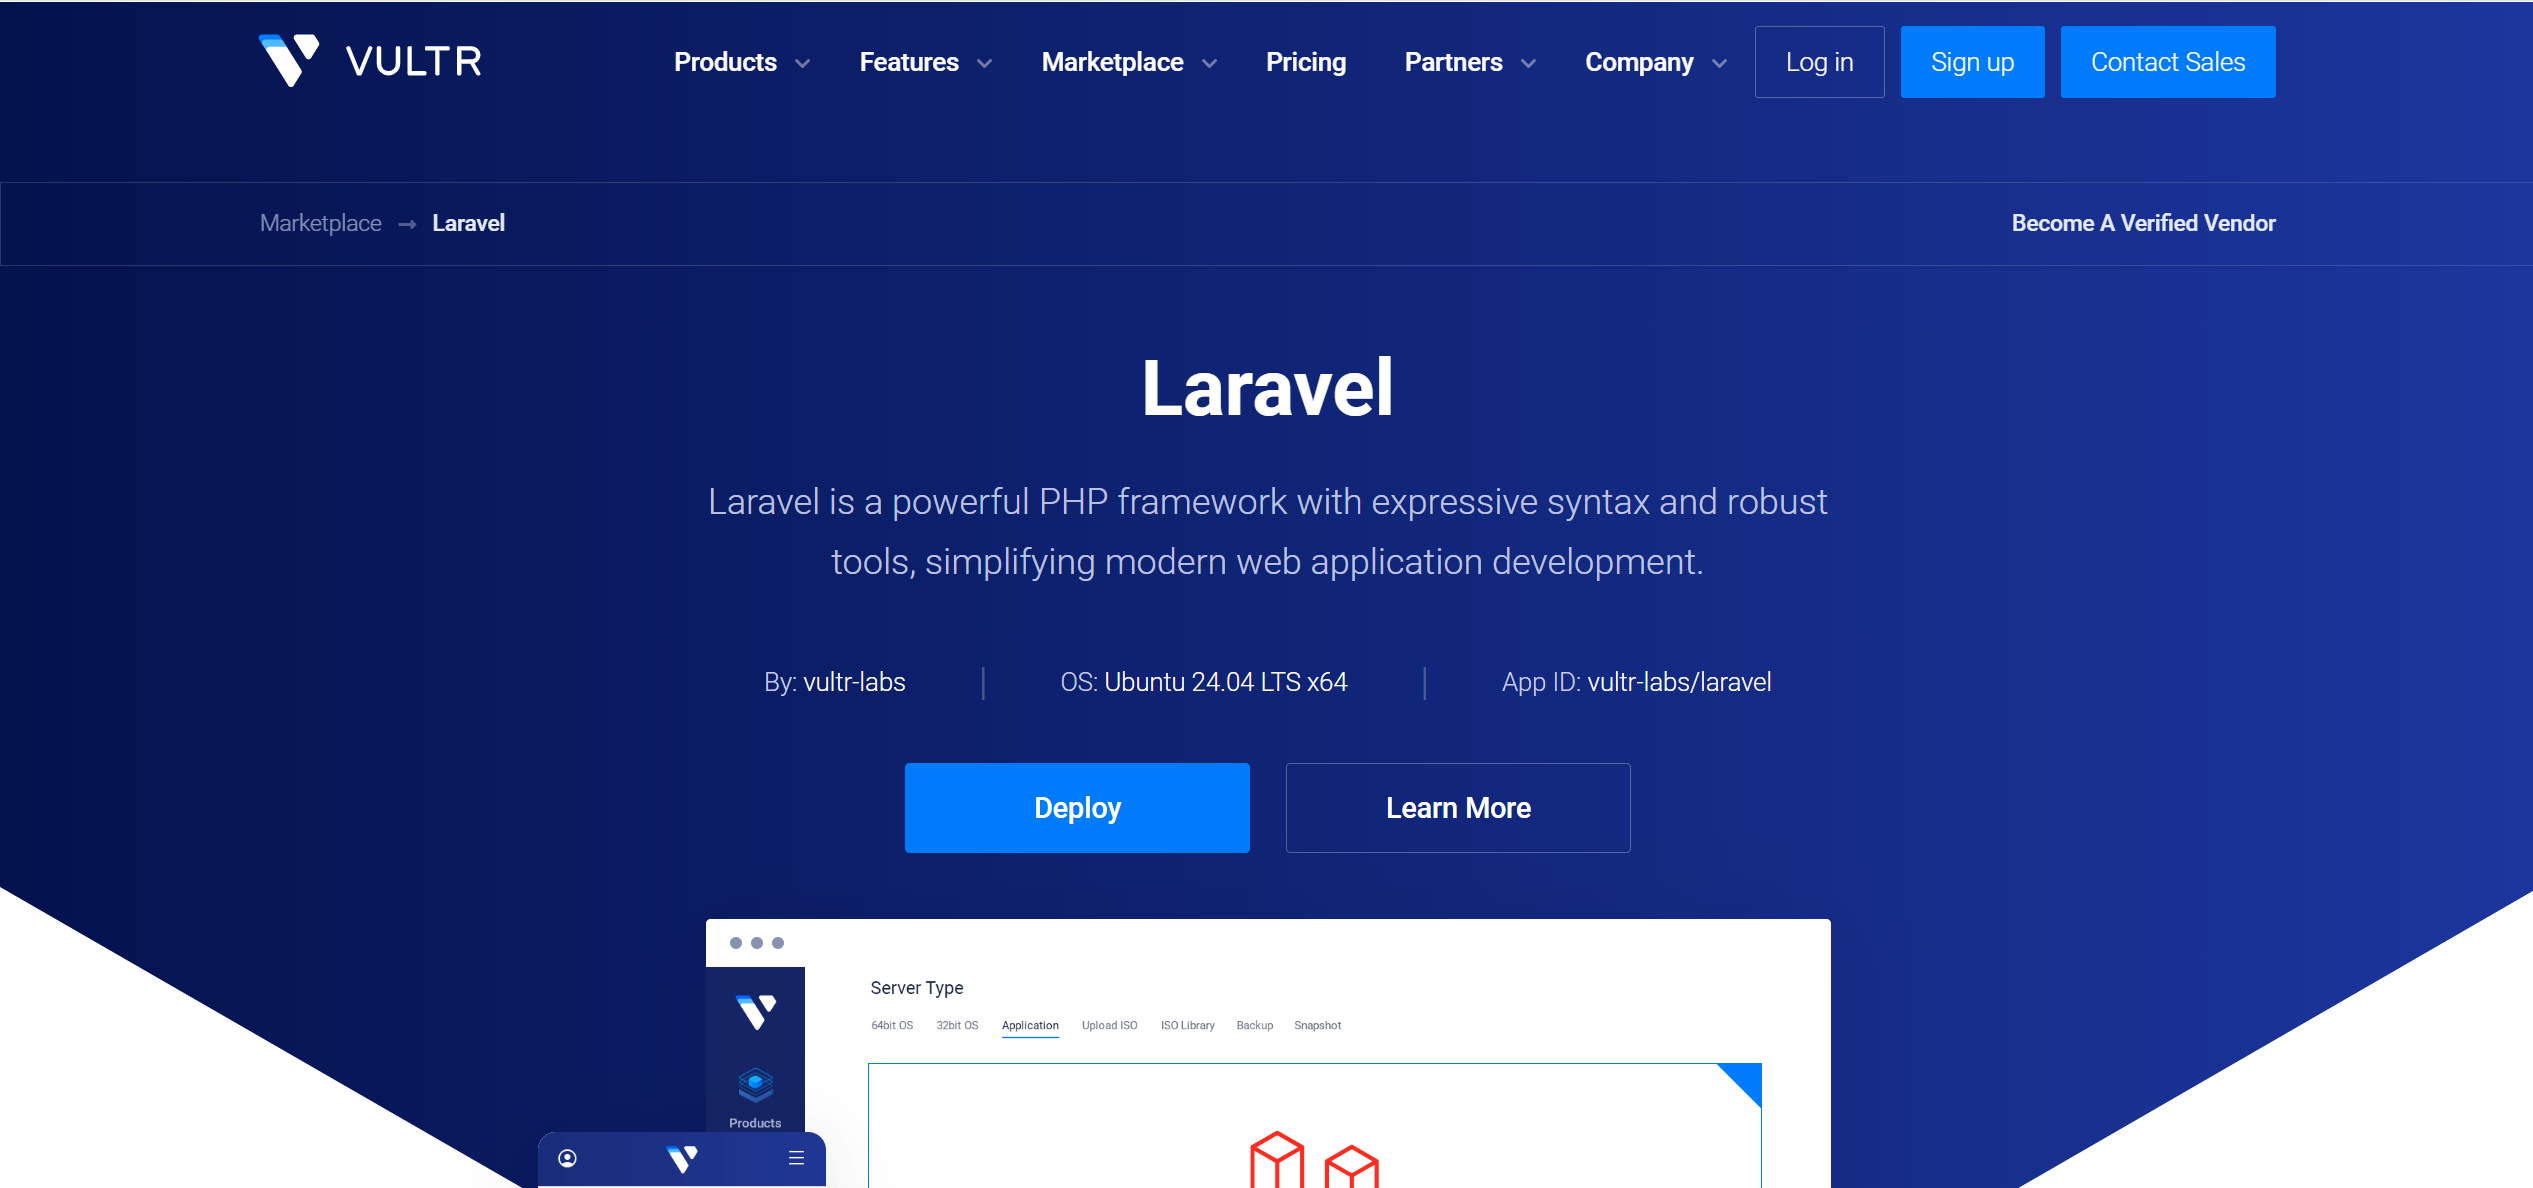
Step 2: Deploy the Laravel Marketplace App
- Log in to the Vultr Dashboard: After signing in, you’ll land on the Vultr control panel.
- Deploy a New Server:
- Click the “Deploy New Server” button (usually a plus icon or labeled as “Deploy”).
- In the “Choose Server” section, select the “Marketplace Apps” tab.
- From the list of available apps, choose “Laravel”.
- Configure Server Specifications:
- Server Location: Pick a location closest to your target audience to reduce latency.
- Server Size: Select a plan based on your app’s needs. A small instance (e.g., 1 CPU, 1GB RAM) works for testing, but consider more resources for production.
- Additional Features: Optionally, enable backups or add a firewall for enhanced security.
- Start Deployment:
- Click “Deploy Now”. Vultr will provision the server with a pre-installed LAMP stack (Laravel, Apache, MySQL, PHP) and a default Laravel project.
Step 3: Access Your Server via SSH
- Get Server Details:
- Once deployment is complete, navigate to the “Instances” section in the Vultr dashboard.
- Note the server’s IP address and default credentials (typically root with a password or SSH key).
- Connect via SSH:
- Open a terminal (e.g., Terminal on macOS/Linux, PuTTY on Windows).
- Run:bash
ssh root@your_server_ipReplace your_server_ip with the actual IP address from the dashboard.
Step 4: Upload Your Laravel Application
The Marketplace App installs a default Laravel project at /var/www/html/my-laravel-app. To deploy your own application, replace it using Git (assuming your code is in a Git repository):
- Install Git (if needed):bash
apt update && apt install git - Navigate to the Web Root:bash
cd /var/www/html - Remove the Default Project:bash
rm -rf my-laravel-app - Clone Your Repository:bash
git clone https://github.com/yourusername/yourrepo.git my-laravel-appReplace https://github.com/yourusername/yourrepo.git with your repository URL. - Enter Your Project Directory:bash
cd my-laravel-app - Install Dependencies:bash
composer install
Alternative (SFTP): If you don’t use Git, upload your project files via SFTP (e.g., with FileZilla) to /var/www/html/my-laravel-app using the server’s IP and credentials, then SSH in to run composer install.
Step 5: Configure the .env File
- Create the .env File:bash
cp .env.example .env - Edit the .env File:
- Use a text editor (e.g., nano .env).
- Update these key settings:
- APP_URL: Your domain (e.g., http://yourdomain.com).
- DB_DATABASE, DB_USERNAME, DB_PASSWORD: Set these after creating the database in Step 6.
- Generate an Application Key:bash
php artisan key:generate
Step 6: Set Up the Database
The Marketplace App includes MySQL locally. Configure it as follows:
- Log in to MySQL:bash
mysql -u root -pEnter the root password if set, or press Enter if unset. - Create a Database:sql
CREATE DATABASE yourdbname; - Create a User:sql
CREATE USER 'yourdbuser'@'localhost' IDENTIFIED BY 'yourpassword'; - Grant Privileges:sql
GRANT ALL PRIVILEGES ON yourdbname.* TO 'yourdbuser'@'localhost'; - Exit MySQL:sql
EXIT; - Update .env: Add these to your .env file:
DB_CONNECTION=mysql
DB_HOST=127.0.0.1
DB_PORT=3306
DB_DATABASE=yourdbname
DB_USERNAME=yourdbuser
DB_PASSWORD=yourpassword
Optional: For better scalability, use a Vultr Managed Database instead. Deploy it via the dashboard and update .env with its credentials.
Step 7: Run Database Migrations
If your app uses migrations, execute:
bash
php artisan migrateStep 8: Configure Apache
The Marketplace App pre-configures Apache. To use your domain:
- Edit the Virtual Host:bash
nano /etc/apache2/sites-available/000-default.conf - Update Settings:
- Set ServerName to your domain (e.g., yourdomain.com).
- Confirm DocumentRoot is /var/www/html/my-laravel-app/public.
- Save and Exit: Ctrl + X, Y, Enter.
- Restart Apache:bash
systemctl restart apache2
Step 9: Secure with SSL (Certbot)
- Install Certbot:bash
apt install certbot python3-certbot-apache - Obtain an SSL Certificate:bash
certbot --apacheFollow the prompts to configure HTTPS for your domain. - Renewal: Certbot sets up automatic renewal by default.
Step 10: Set File Permissions
Ensure Apache can access your files:
bash
sudo chown -R www-data:www-data /var/www/html/my-laravel-app
sudo chmod -R 755 /var/www/html/my-laravel-app/storage
Step 11: Test Your Application
- Visit your domain (e.g., https://yourdomain.com) in a browser.
- If everything is set up correctly, your Laravel app should load.
Troubleshooting Tips
- 404 or 500 Errors: Check Apache logs (/var/log/apache2/error.log) or enable APP_DEBUG=true in .env (set to false in production).
- Database Connection Issues: Verify .env credentials match your MySQL setup.
- Permissions Errors: Re-run the permission commands from Step 10.
Optional Enhancements
- Firewall: Allow only ports 22 (SSH), 80 (HTTP), and 443 (HTTPS) using Vultr’s firewall settings.
- Production Settings: Set APP_DEBUG=false and APP_ENV=production in .env.
- Updates: To deploy updates, pull from Git (git pull) and rerun composer install and php artisan migrate.
With these steps, your Laravel application is now deployed on Vultr using their Marketplace Apps, leveraging a pre-configured environment for a smooth setup process. Enjoy building and scaling your app!

Related Posts