
How to Rent an OpenVPN Server Using Akamai Cloud (Linode)?

This guide walks you through setting up an OpenVPN server on a Linode virtual private server (VPS). It assumes you have basic Linux command-line knowledge and are comfortable using SSH. You can also use method 2 to set it up with one click.
Method 1: Deploy OpenVPN Server Using SSH
1. Create a Linode Account and Deploy a Linode Instance:
- Sign up: Visit Linode (www.linode.com) and create an account. You’ll need a valid payment method.
- Choose a plan: Select a plan based on your needs. For a personal OpenVPN server, a Nanode or similar small instance is usually sufficient. Consider bandwidth and RAM requirements if you plan to have many concurrent users.
- Choose a region: Select a server region geographically close to you for optimal performance.
- Deploy a Linode: Choose a Linux distribution. Ubuntu LTS (Long Term Support) versions are recommended for their stability. Deploy your Linode instance.
2. Access Your Linode via SSH:
- Get the IP address: After deployment, Linode will provide you with the public IP address of your VPS.
- Connect via SSH: Use an SSH client (like PuTTY on Windows, or Terminal on macOS/Linux) to connect to your Linode. Use the username
rootand the password you set during deployment.
3. Update and Install Necessary Packages:
Once connected, update the system packages:
Bash

apt update
apt upgrade -y
Install the required packages:
Bash

apt install openvpn easy-rsa -y
4. Generate Certificates and Keys using Easy-RSA:
Easy-RSA simplifies the process of creating the necessary cryptographic components.
Bash

cd /usr/share/easy-rsa/3.0/  # Or the appropriate easy-rsa directory
./easyrsa init-pki
./easyrsa build-ca nopass  # Build the Certificate Authority (CA) certificate
./easyrsa build-server-full server nopass  # Build the server certificate and key
./easyrsa build-client-full client nopass  # Build the client certificate and key (for yourself)
./easyrsa gen-dh  # Generate Diffie-Hellman parameters
5. Copy Certificates and Keys:
Copy the generated files to the OpenVPN directory:
cp pki/ca.crt pki/issued/server.crt pki/private/server.key pki/dh.pem /etc/openvpn/
cp pki/issued/client.crt pki/private/client.key /etc/openvpn/  # Copy client files if needed
6. Configure the OpenVPN Server:
Create the server.conf file:
Bash

nano /etc/openvpn/server.conf
Paste the following configuration (adjust as needed):
port 1194  # OpenVPN port
proto udp  # Protocol (UDP is generally recommended)
dev tun  # Tunnel device
ca ca.crt  # CA certificate
cert server.crt  # Server certificate
key server.key  # Server key
dh dh.pem  # Diffie-Hellman parameters
server 10.8.0.0 255.255.255.0  # VPN subnet
push "redirect-gateway def1 bypass-dhcp"  # Redirect all client traffic
push "dhcp-option DNS 8.8.8.8"  # Push Google DNS to clients
keepalive 10 120  # Keepalive pings
cipher AES-256-GCM  # Encryption cipher (choose a strong cipher)
user nobody  # Run as non-privileged user
group nogroup
persist-key
persist-tun
status openvpn-status.log
verb 3  # Verbosity level (adjust for debugging)
7. Enable IP Forwarding:
Bash

nano /etc/sysctl.conf
Add the following line:
net.ipv4.ip_forward=1Apply the changes:
Bash

sysctl -p
8. Configure Network Address Translation (NAT):
This allows clients to access the internet through the VPN server. Use iptables:
Bash

iptables -t nat -A POSTROUTING -o eth0 -j MASQUERADE  # Replace eth0 with your network interface if different
iptables-save > /etc/iptables/rules.v4
To make the rule persistent across reboots:
Bash

apt install iptables-persistent -y
9. Start and Enable the OpenVPN Service:
Bash

systemctl start openvpn@server
systemctl enable openvpn@server
10. Generate Client Configuration File:
Create a client configuration file (client.ovpn) on your local machine:
client
dev tun
proto udp
remote <your_linode_ip> 1194  # Replace with your Linode's IP address
resolv-retry infinite
nobind
persist-key
persist-tun
remote-cert-tls server
ca ca.crt
cert client.crt
key client.key
cipher AES-256-GCM # Match the server cipher
verb 3
Copy the ca.crt, client.crt, and client.key files from your Linode server (using scp or similar) to the same directory as client.ovpn.
11. Connect to the VPN:
Use an OpenVPN client (like OpenVPN GUI on Windows, Tunnelblick on macOS, or the openvpn command on Linux) to import and connect using the client.ovpn file.
12. Test the Connection:
Once connected, check your public IP address. It should now be the same as your Linode’s IP address.
Important Considerations:
- Security: Keep your server updated. Use strong passwords. Consider using a firewall (like
ufw) to restrict access to your Linode. - Firewall Rules: Ensure your Linode’s firewall allows traffic on port 1194 (UDP).
- DNS: You can configure your OpenVPN server to push custom DNS servers to clients for added privacy.
- Client Configuration: Distribute the
client.ovpnfile and associated certificates securely to your clients. - Troubleshooting: Check the OpenVPN logs (
/var/log/openvpn/openvpn-status.logand system logs) if you encounter issues.
This guide provides a basic setup. For production environments, you should explore more advanced configurations, including user authentication, different VPN protocols, and security best practices. Always consult the official OpenVPN documentation for the most up-to-date information.
Method 2: Deploy OpenVPN Server Using Linode Application Platform
Deploying OpenVPN on Linode’s Application Platform simplifies the process significantly compared to manual configuration. Here’s a guide:
1. Prepare Your Domain (Optional but Recommended):
If you want to access your OpenVPN server via a domain name (e.g., vpn.example.com) Instead of an IP address, you’ll need to configure DNS records.
- Linode DNS Manager: If you’re using Linode’s DNS service, create an “A” record pointing to your desired subdomain (e.g.,
vpn) to your Linode instance’s IP address. - External DNS Provider: If you’re using another DNS provider (like GoDaddy, Namecheap, etc.), create the “A” record with them.
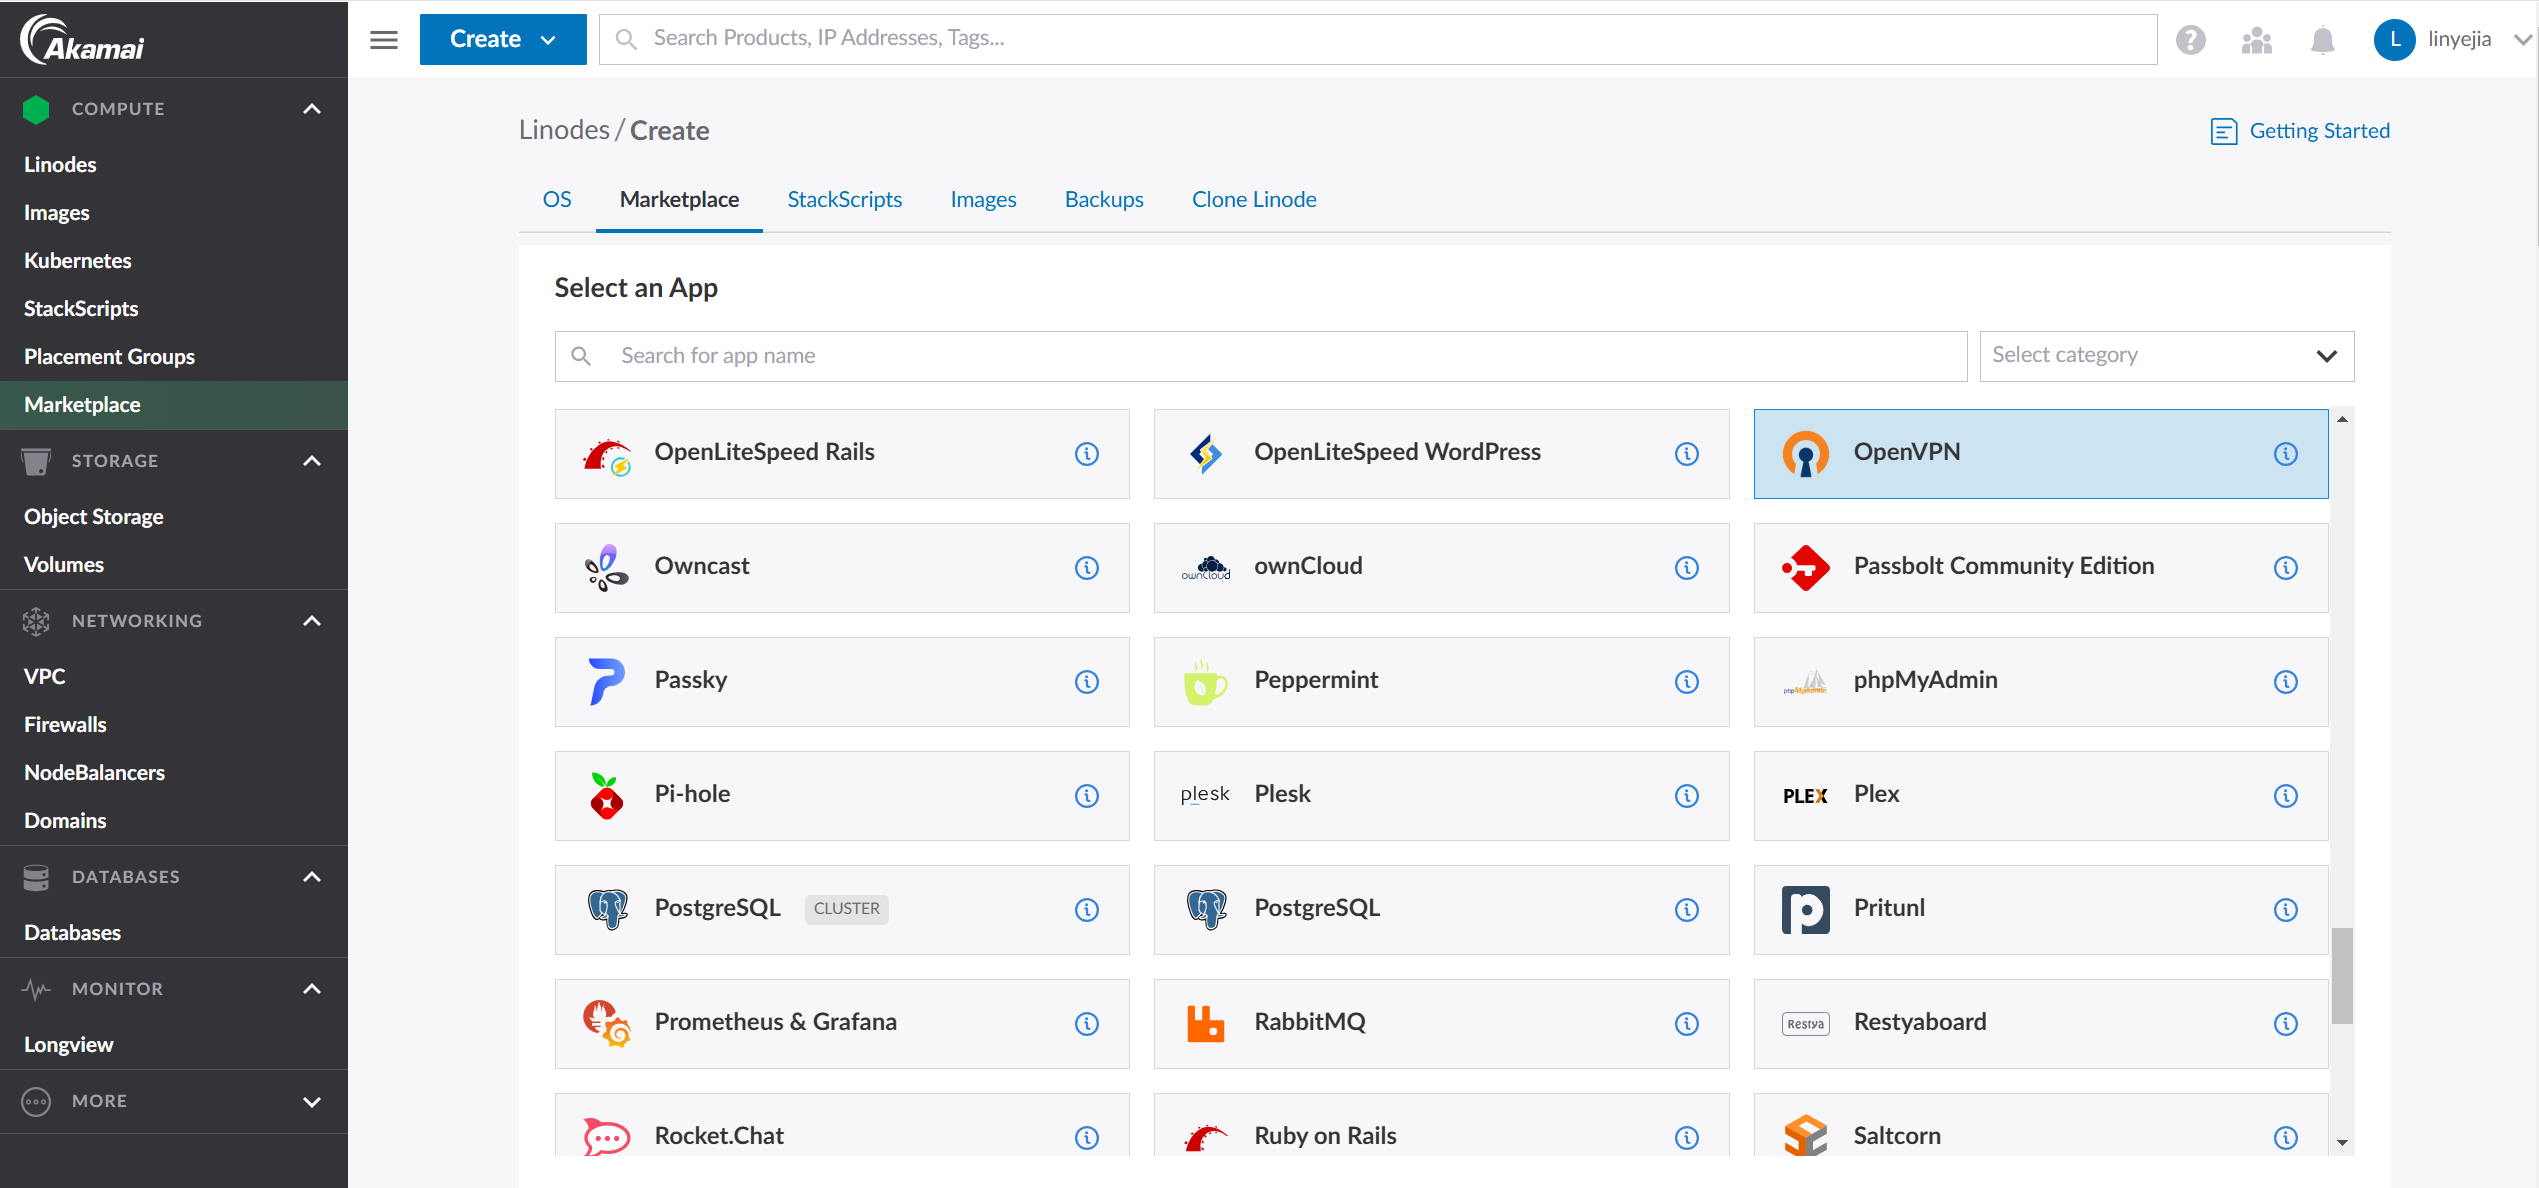
2. Deploy OpenVPN via the Linode Marketplace:
- Log in to Linode: Go to the Linode website and log in to your account.
- Navigate to Marketplace: In the Linode Cloud Manager, click on “Marketplace” in the left-hand navigation.
- Search for OpenVPN: Search for “OpenVPN” in the marketplace. Choose the official OpenVPN application.
- Create a Linode: Click the “Create Linode” button.
3. Configure Your OpenVPN Deployment:
- Label: Give your Linode a descriptive label (e.g., “openvpn-server”).
- Region: Choose a region close to you.
- Plan: Select a Linode plan. A Nanode or shared CPU instance is usually sufficient for personal use. Consider higher plans if you expect many concurrent users or high bandwidth demands.
- OpenVPN Configuration: This is the most important part:
- Hostname/Domain: If you have a domain set up, enter it here (e.g.,
vpn.example.com). Otherwise, you can use the Linode’s IP address, but a domain is generally preferred. - VPN Protocol: Choose UDP or TCP. UDP is generally faster but less reliable. TCP is more reliable but can be slower. UDP is usually the best choice for OpenVPN.
- Port: The default port is 1194. You can change it if needed, but make sure to update your client configuration later.
- Client Configuration: You can generate a client configuration file now or later. Generating it now is convenient. You will be able to download it once the deployment is complete.
- Username/Password (for management interface): Set a strong username and password to access the OpenVPN management interface (if the application provides one). This is separate from your Linode root password.
- Hostname/Domain: If you have a domain set up, enter it here (e.g.,
- Root Password: Set a strong root password for your Linode instance. This is essential for security.
- SSH Keys (Recommended): Add your SSH public keys for secure access to your Linode without needing a password.
- Tags (Optional): Add tags for organization.
4. Deploy:
Review your settings and click “Create Linode.” The deployment process will begin. It might take a few minutes for the OpenVPN server to be fully configured.
5. Access Your OpenVPN Server:
- Download Client Configuration: After deployment, you should be able to download the client configuration file (
.ovpnfile) from the Linode console or the application’s interface (if there is one). - Connect: Use an OpenVPN client (like OpenVPN GUI, Tunnelblick, or the command-line client) to import the downloaded
.ovpnfile and connect to your VPN.
6. Post-Deployment Steps (Important):
- Firewall (ufw): If you’re using
ufw, ensure that port 1194 (or your chosen port) is open for incoming traffic. - Security Hardening: It’s highly recommended to further secure your server. This includes:
- Keeping your system updated (
apt update && apt upgrade). - Setting up a firewall (if not already done).
- Disabling root login via password (only allow SSH key authentication).
- Regularly reviewing logs for suspicious activity.
- Keeping your system updated (
- Domain Propagation (if using a domain): If you just set up a domain, it might take some time for the DNS changes to propagate across the internet.
Advantages of using the Linode Marketplace:
- Simplified Setup: The deployment process is much easier and faster than manual configuration.
- Pre-configured: The OpenVPN server is typically pre-configured with reasonable defaults.
- Easy Updates: Updating the OpenVPN software might be easier through the Marketplace.
Disadvantages:
- Less Control: You might have less fine-grained control over the configuration compared to a manual setup. However, this is usually acceptable for most users.
By following these steps, you can quickly and easily deploy an OpenVPN server on Linode’s Application Platform. Remember that security is paramount, so always take the necessary steps to harden your server after deployment.

Related Posts